
Setting Up a Meta Quest 2/3 for Horizon Managed Services (HMS)
_Last updated: April 17, 2025_
This guide walks you through the process of factory resetting a Meta Quest headset and configuring it for use under Horizon Managed Services (HMS).
Important: Performing a factory reset will erase all apps, files, and settings from the headset. Ensure any important data is backed up before proceeding.
Note: The images in this guide are representative only and may not exactly match what you will see in the headset. This is because it’s not possible to record or screenshot the headset display during the factory reset or initial setup process. The visuals provided are intended to give a general idea of what to expect.
Section 1: Factory Reset Your Device
Turn off the headset completely.
- Press and hold the power button until the shutdown menu appears.
- Select Power Off or hold the button until the device shuts down.
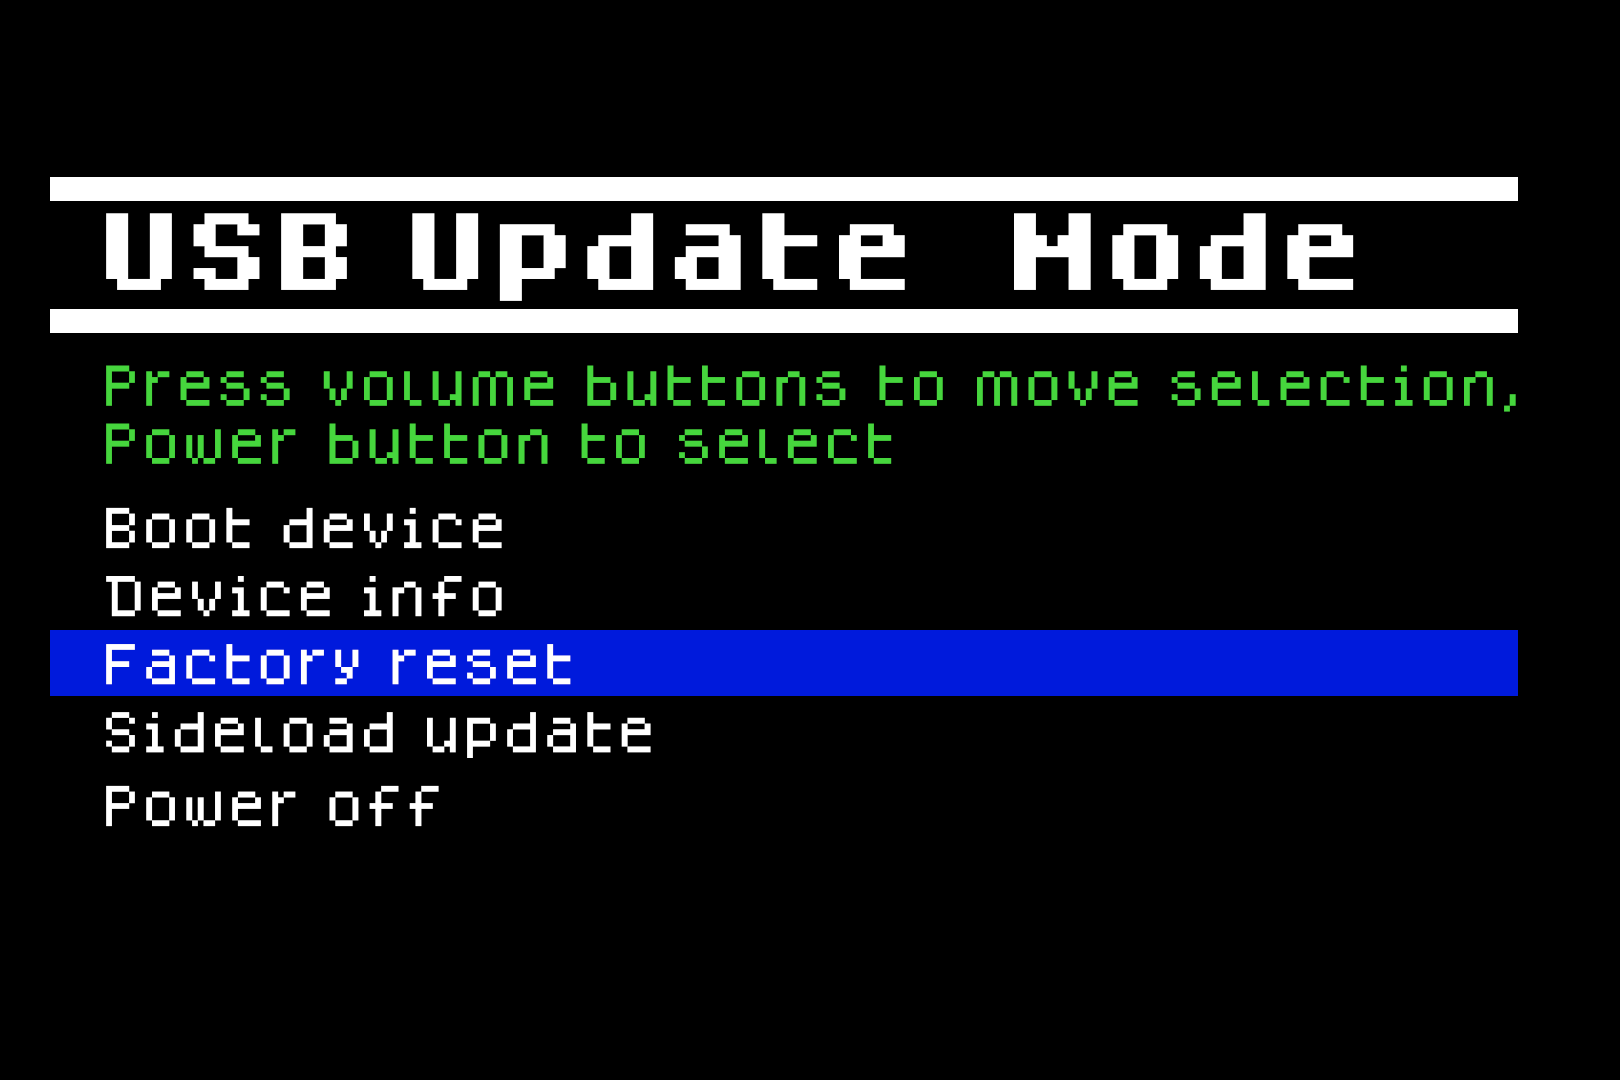
Enter the Android Recovery Menu (Bootloader):
- Press and hold the Volume Down (-) button.
- While holding Volume Down, press and hold the Power button
- Continue holding both buttons until the bootloader menu appears on the screen.
-
Use the Volume buttons to scroll through the bootloader options.
-
Highlight “Factory Reset”.
-
Press the Power button to select it.
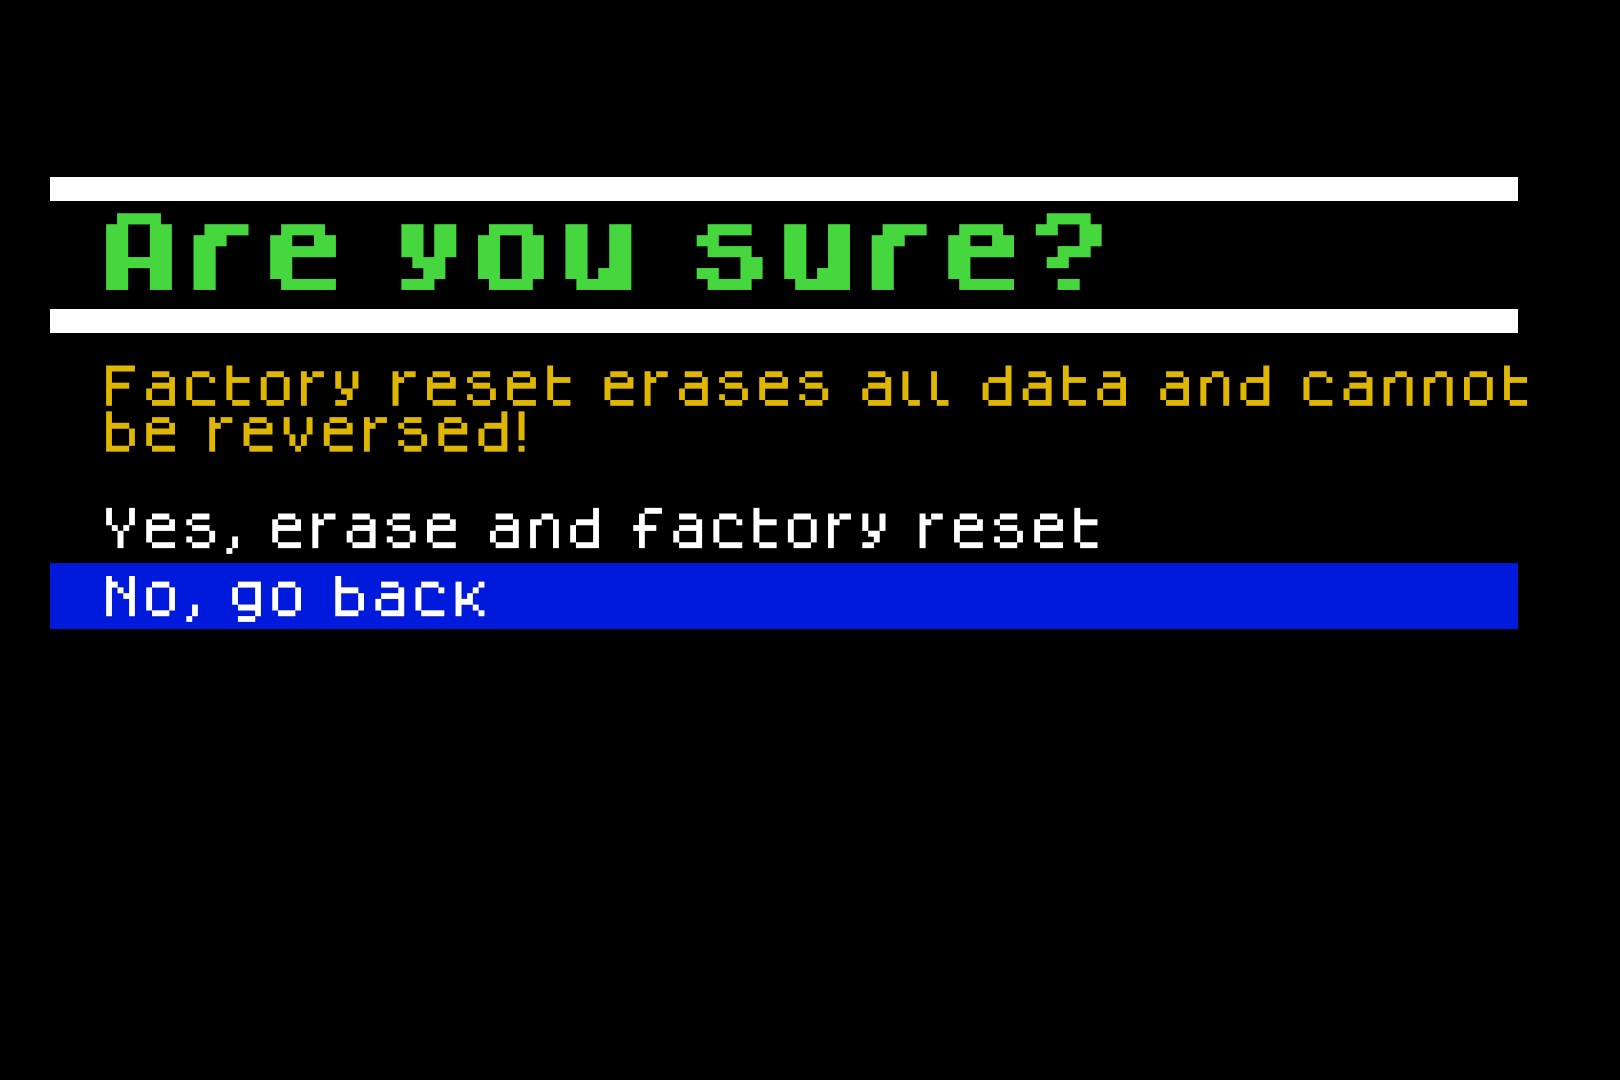
Confirm Factory Reset:
-
When prompted with “Are you sure?”, highlight “Yes, erase and factory reset”.
-
Press the Power button again to confirm.
Wait for Device to Reboot:
-
The headset will wipe all data and automatically restart.
Section 2: Initial Device Setup
Once the headset restarts, follow the guided setup process:
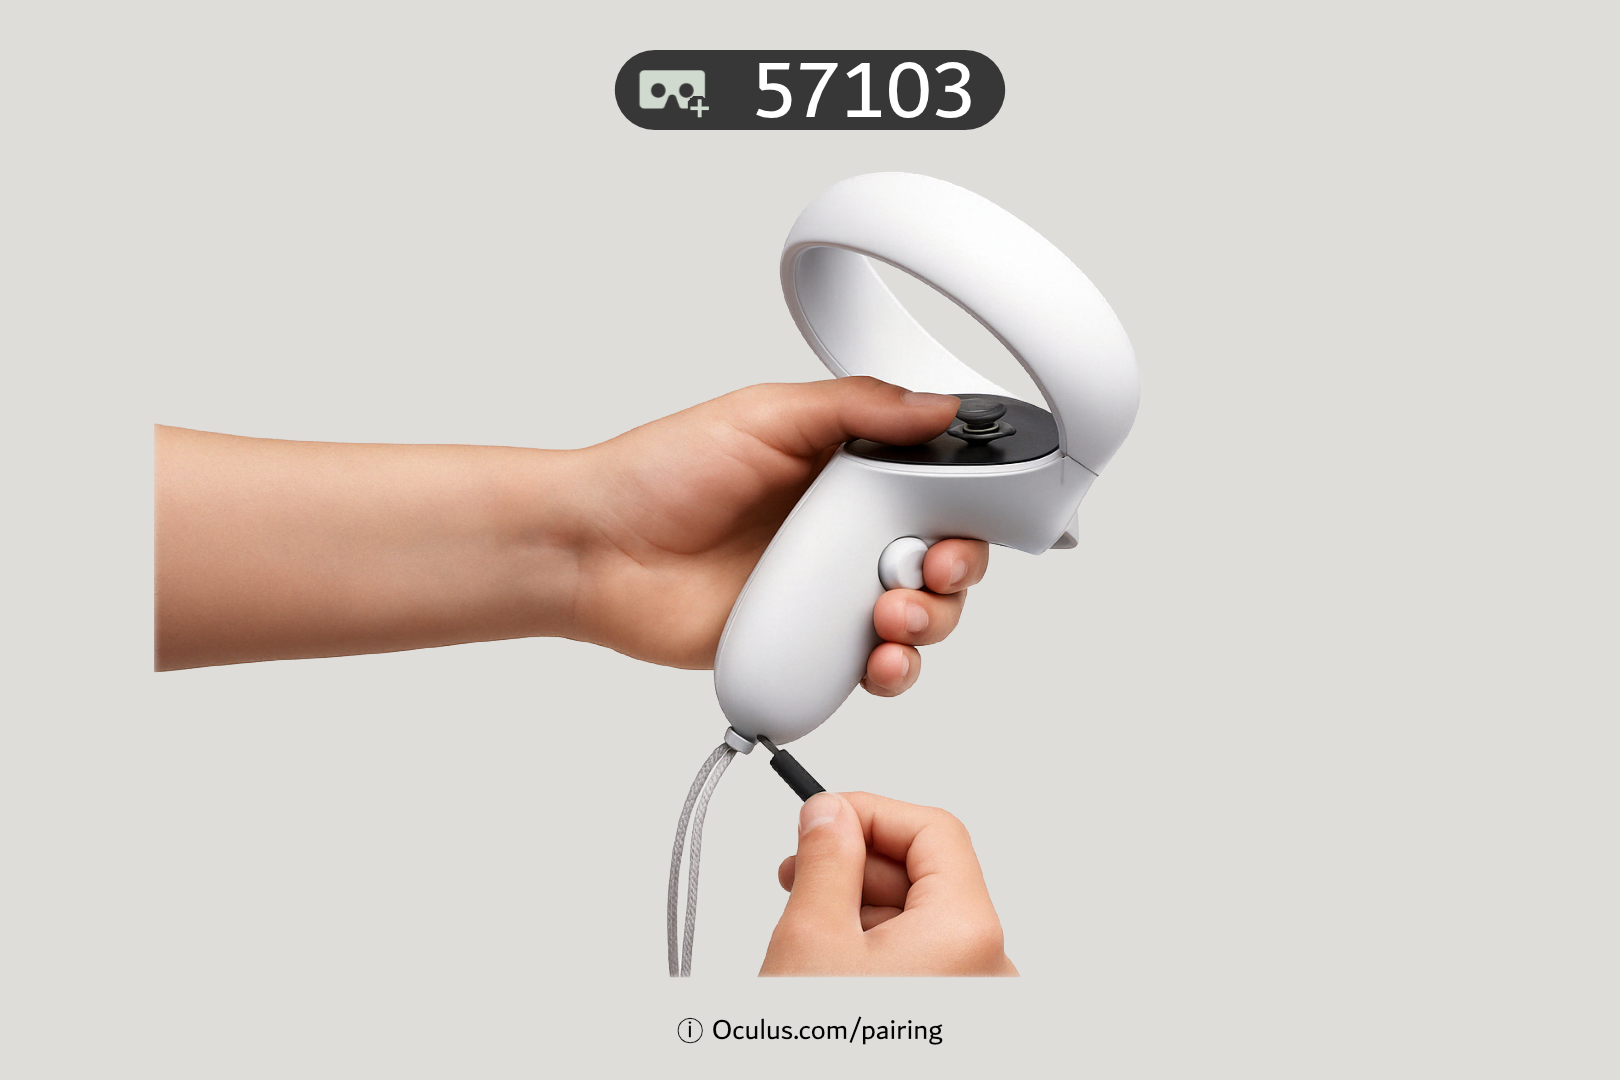
Controller Pairing Screen:
-
If the headset doesn’t detect controllers, a screen will appear instructing you to pull the battery tab from each controller.
-
If your controllers are already active, this step will be skipped automatically.
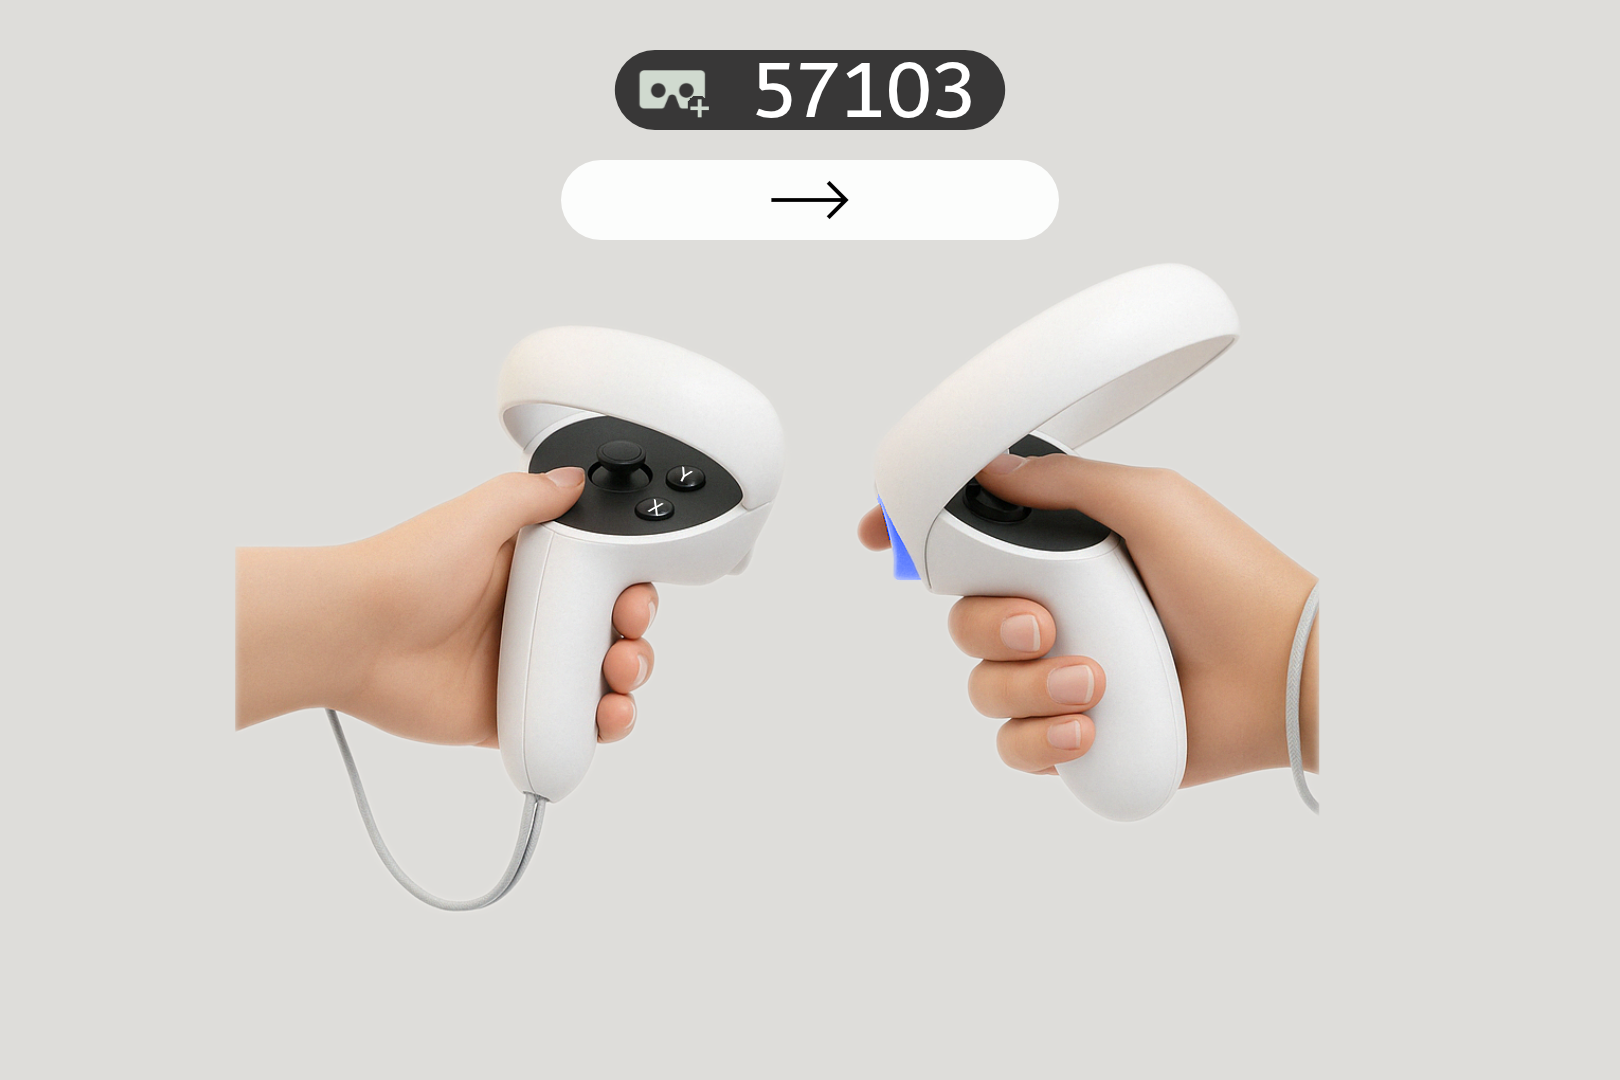
Start Setup:
-
You’ll be prompted to point at a “Continue” button.
-
Use the trigger button on the controller to select it.
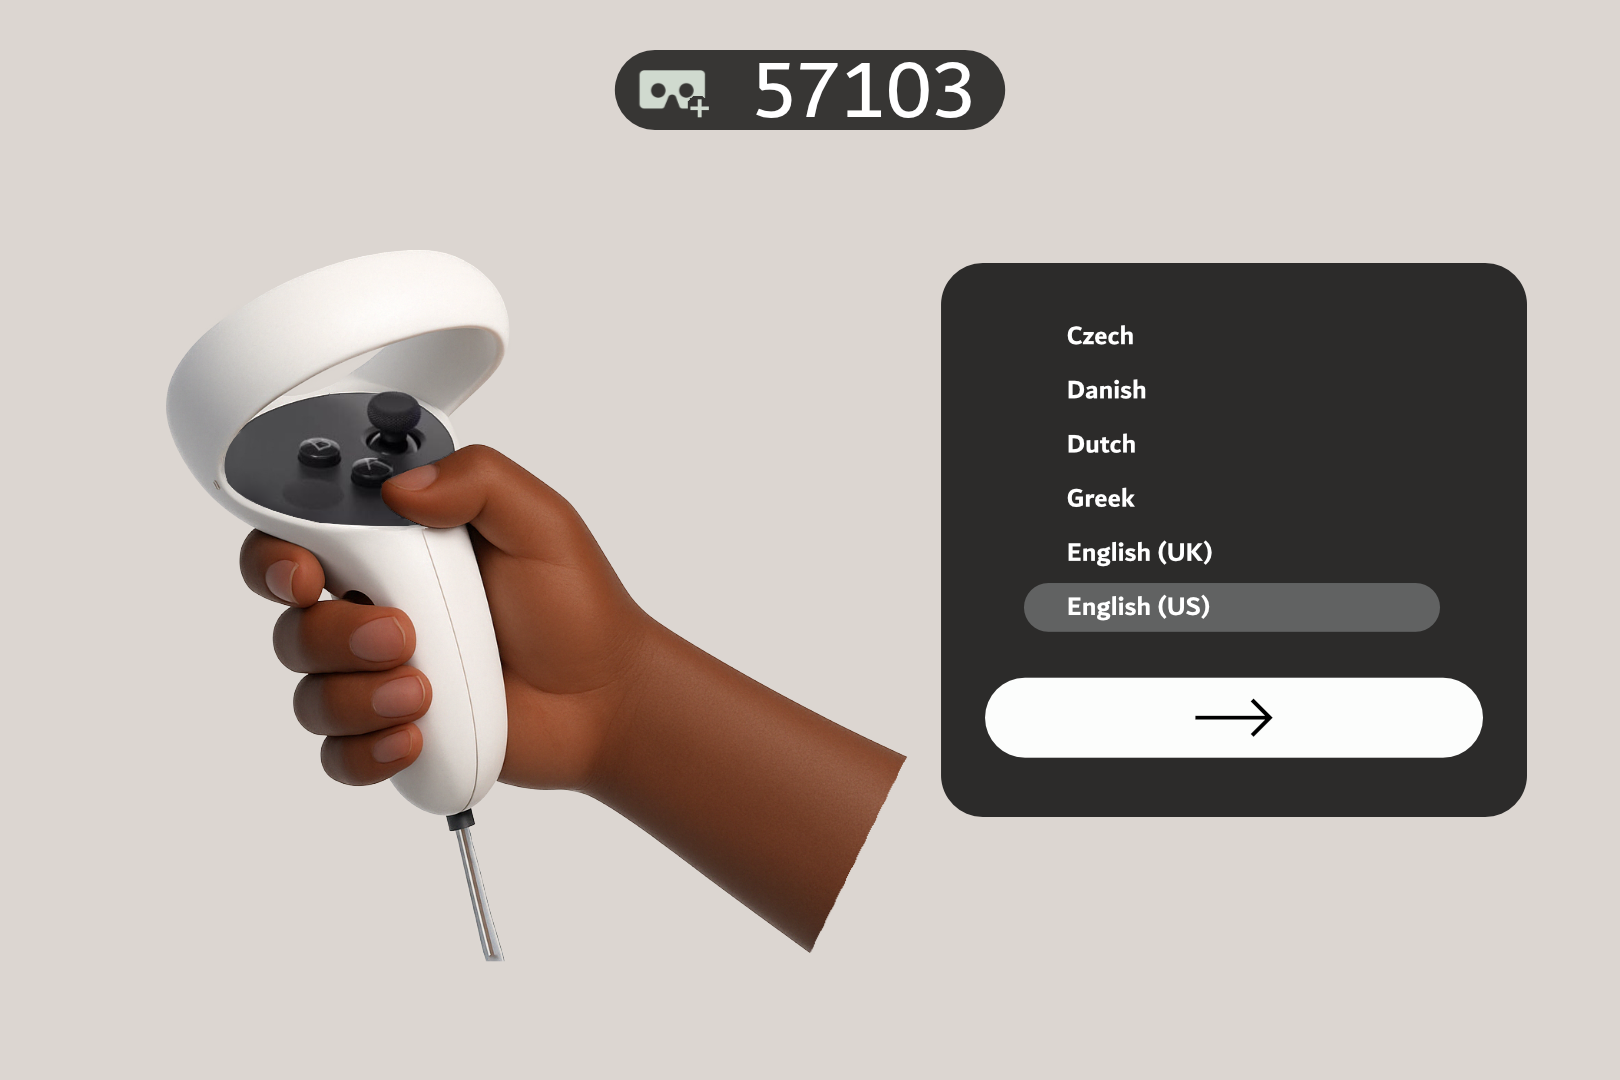
Language Selection:
-
Scroll through the list using the joystick.
-
Point and click on your preferred language.
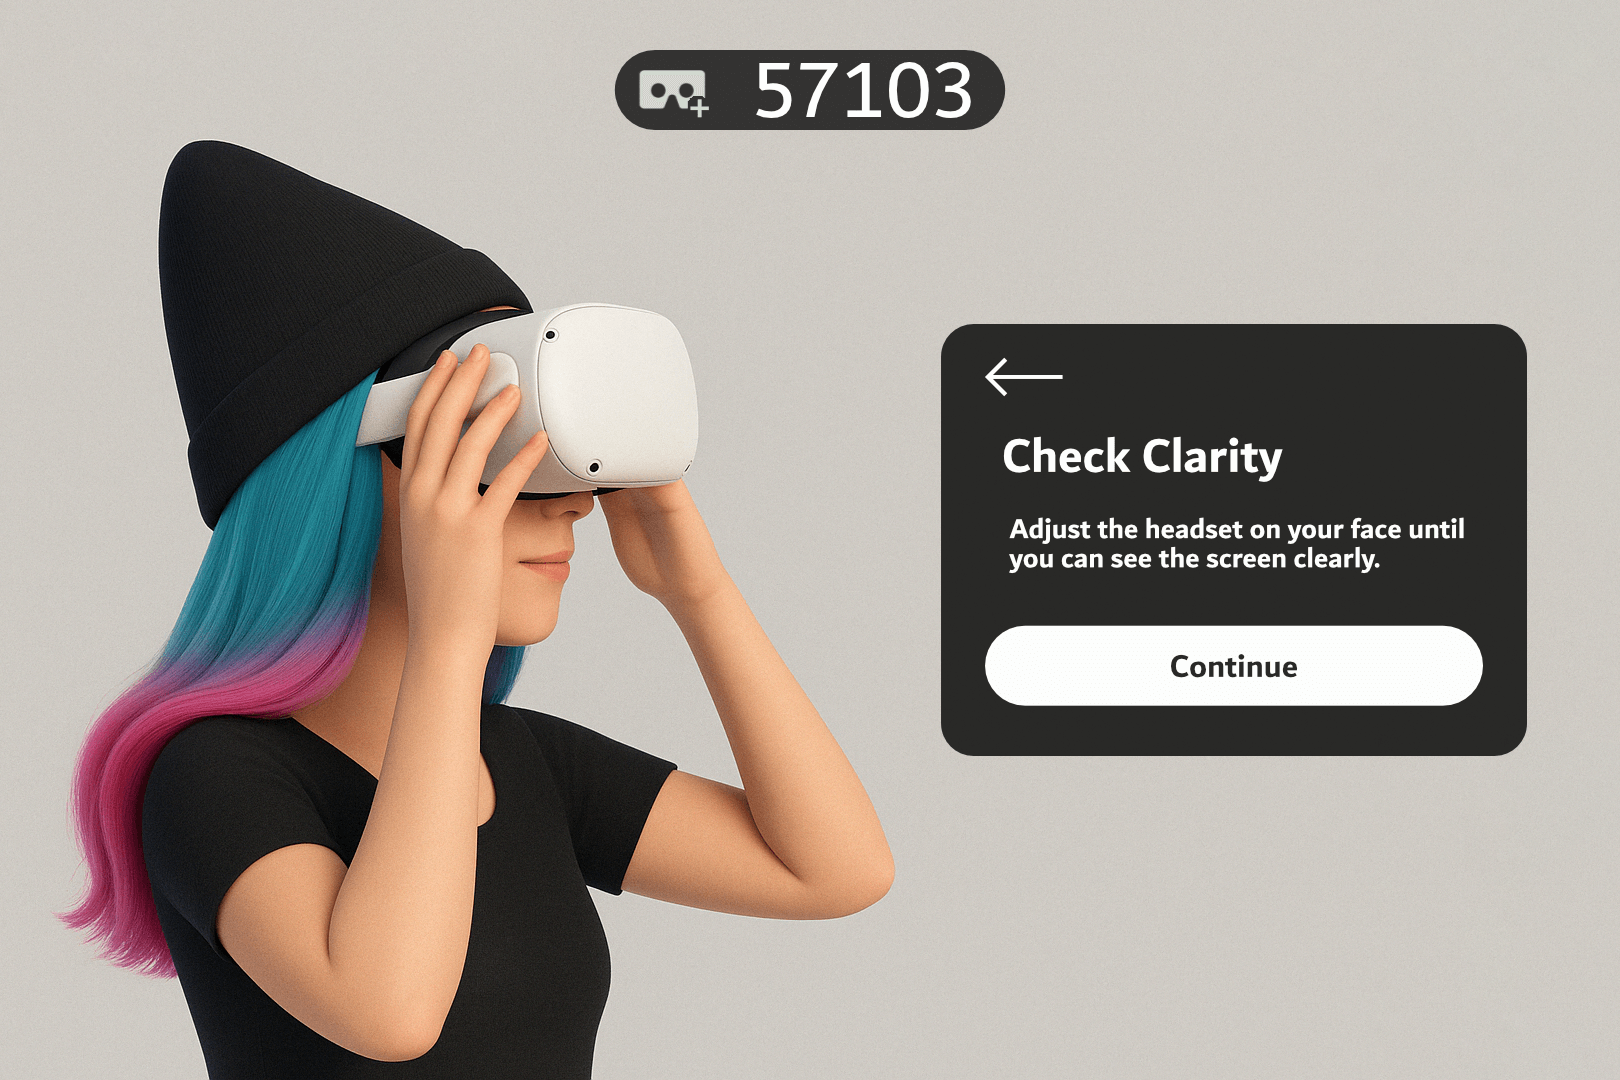
Adjust Headset Fit (Visual Clarity):
-
Follow on-screen instructions to properly fit the headset.
-
Ensure text and visuals are sharp before pressing Continue.
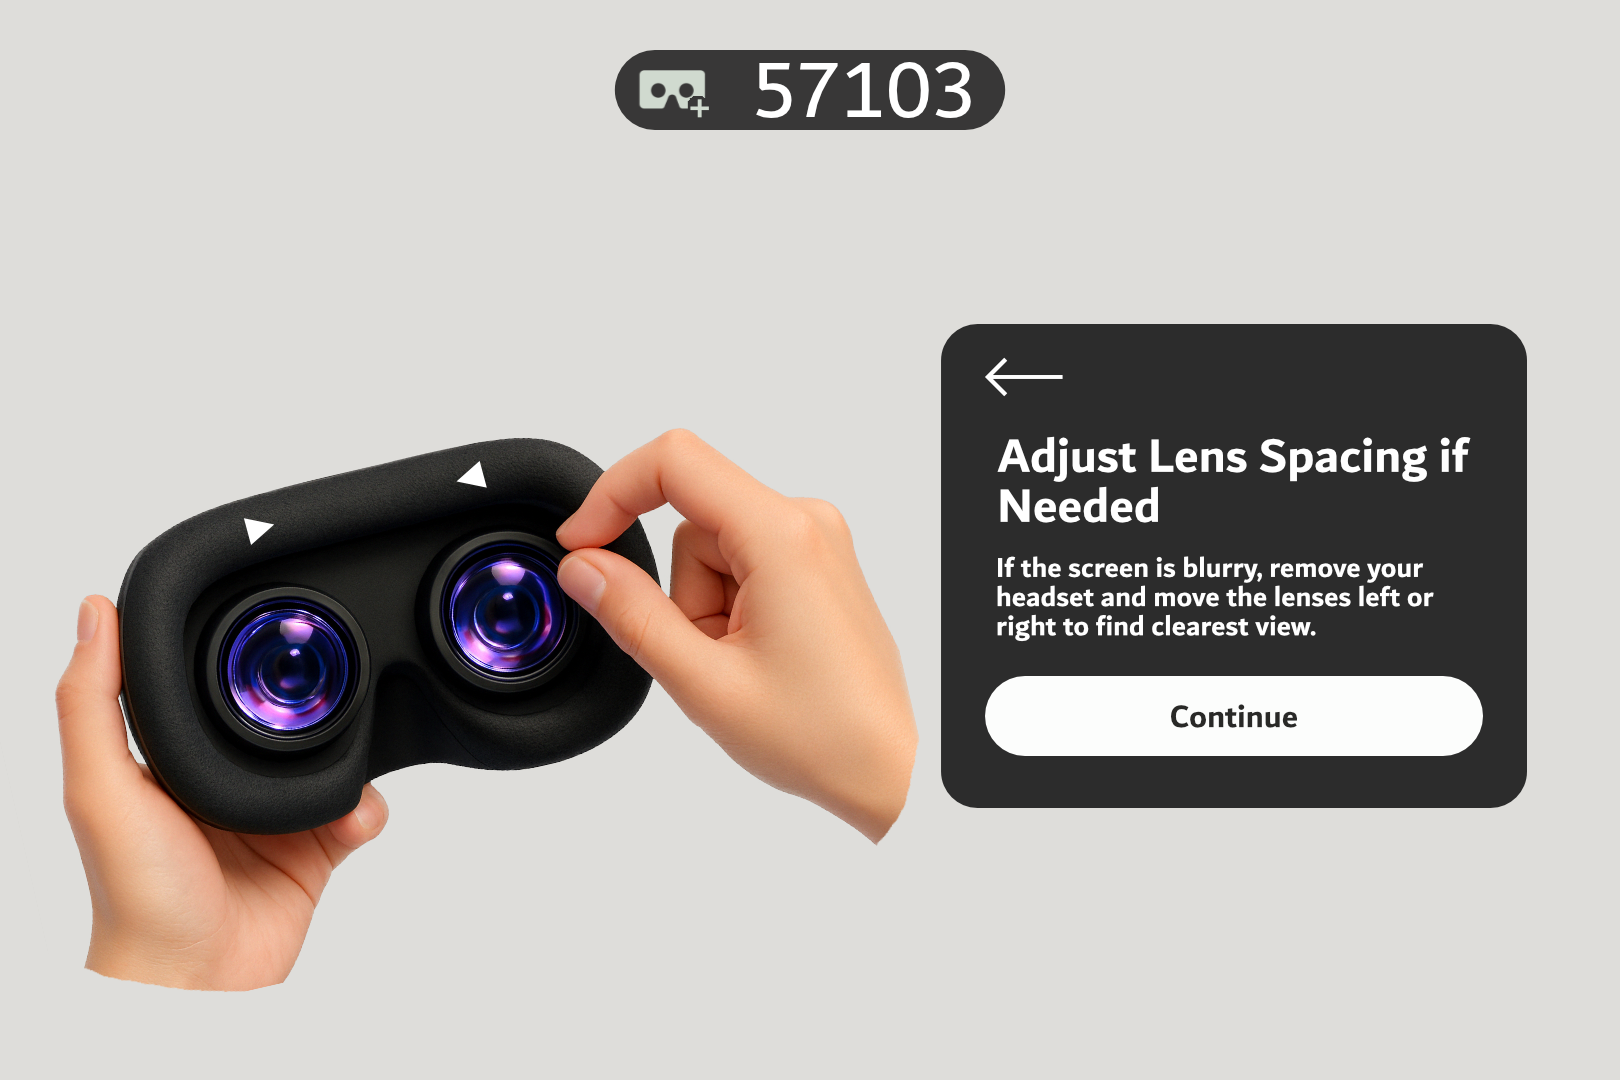
Set IPD (interpupillary distance):
-
Adjust the lenses to match your interpupillary distance. Press Continue when ready.
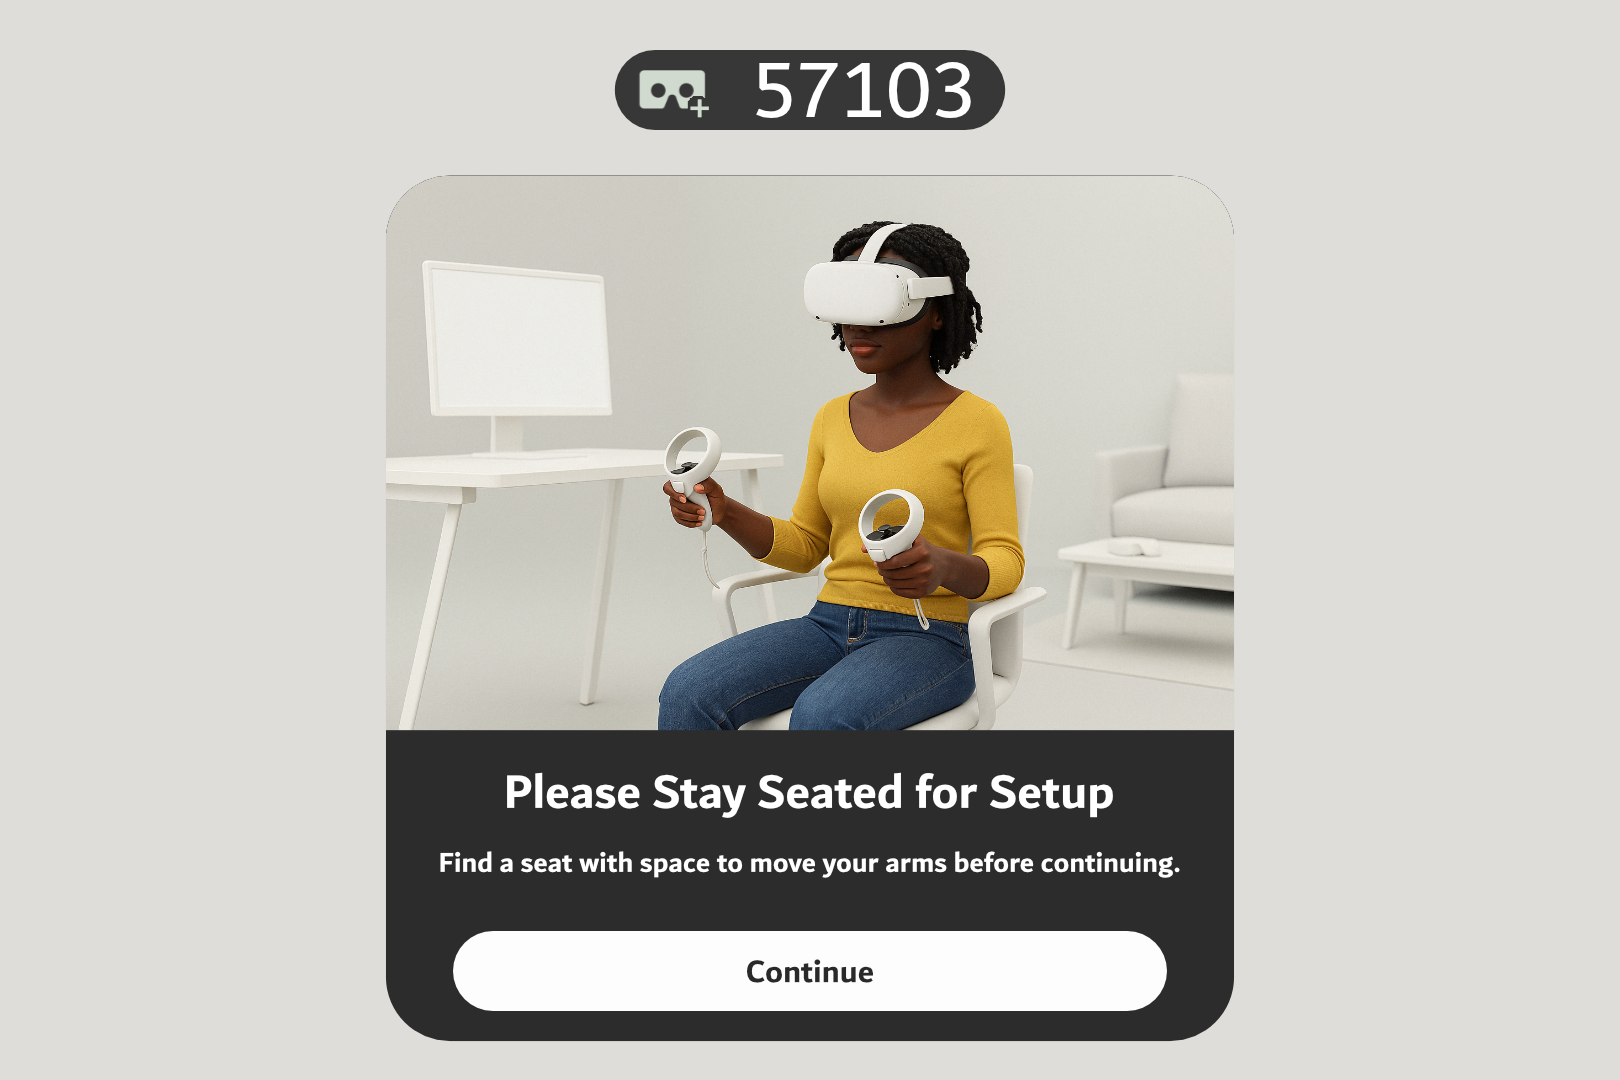
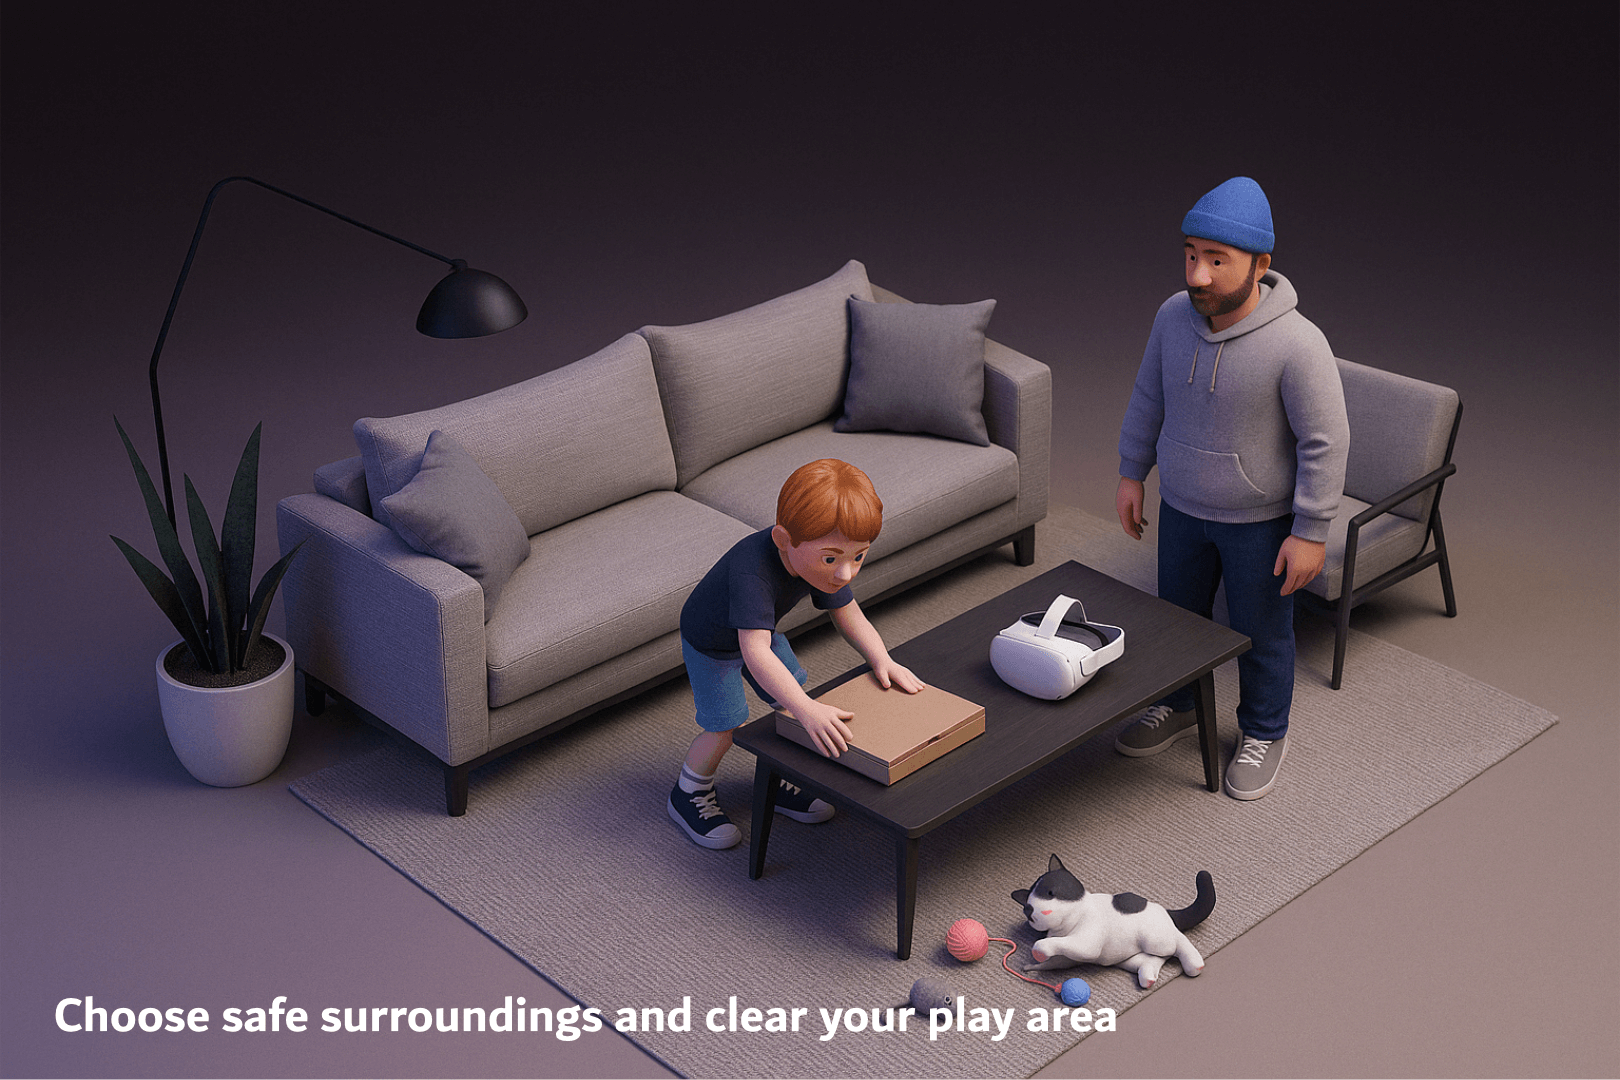
Seating Position:
-
When asked, ensure you're seated in a safe space and press Continue.
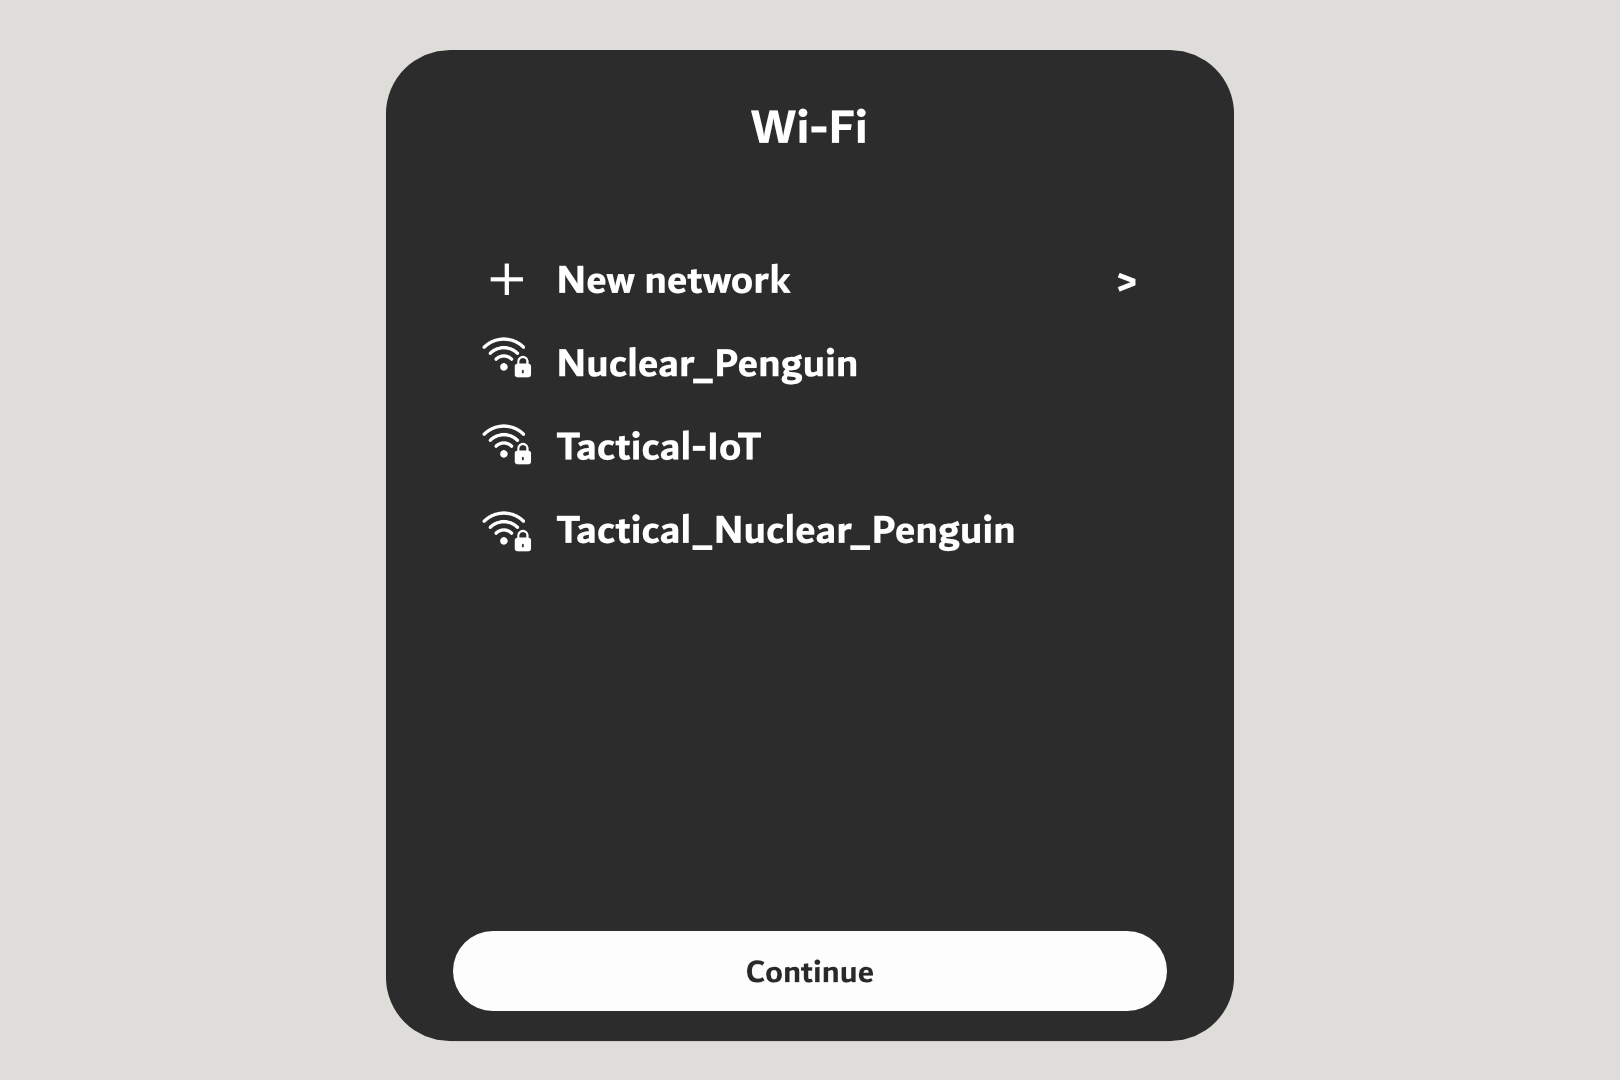
Connect to Wi-Fi:
-
Use the joystick to scroll through available networks.
-
Select your network and enter the password using the on-screen keyboard.
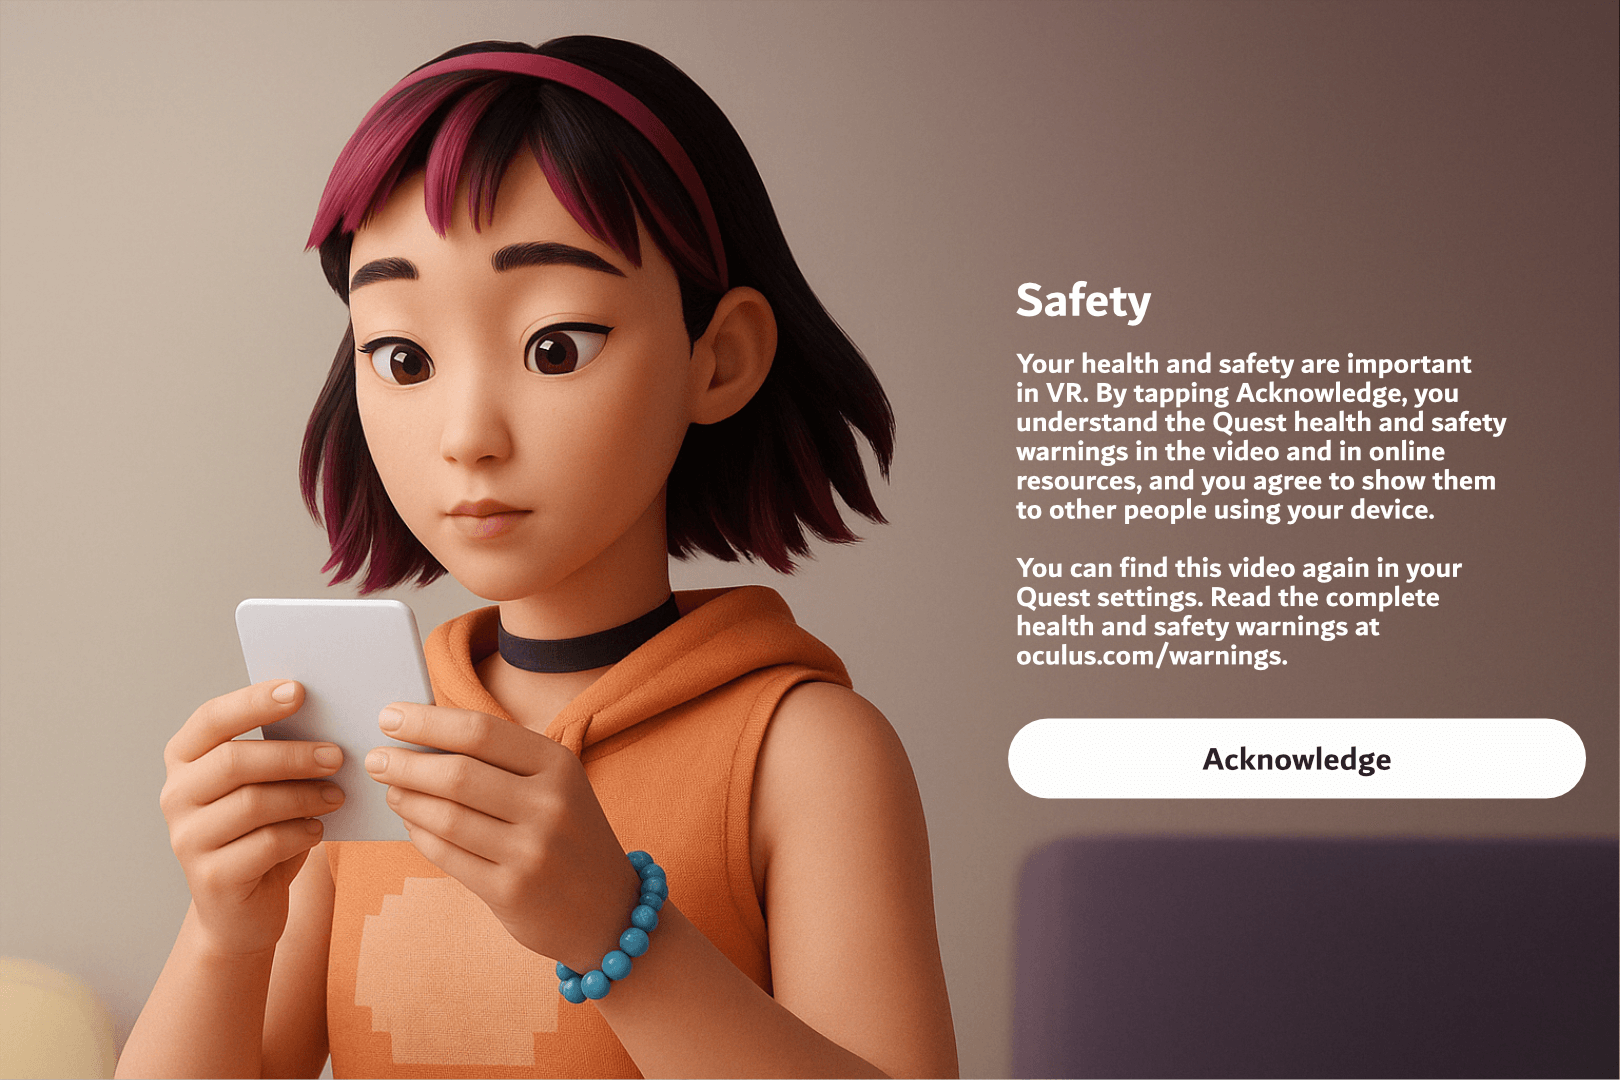
Watch the safety guideline animation, covering:
-
Minimum age requirement (typically 13+).
-
Use indoors to avoid sun damage to lenses.
-
Remove obstacles from the play area.
-
Use appropriate content in safe, supervised environments.

Acknowledge Safety Compliance:
-
After watching the video, you’ll be asked to confirm that you understand the safety guidelines.
Section 3: Enroll the Headset with Horizon Managed Services (HMS)
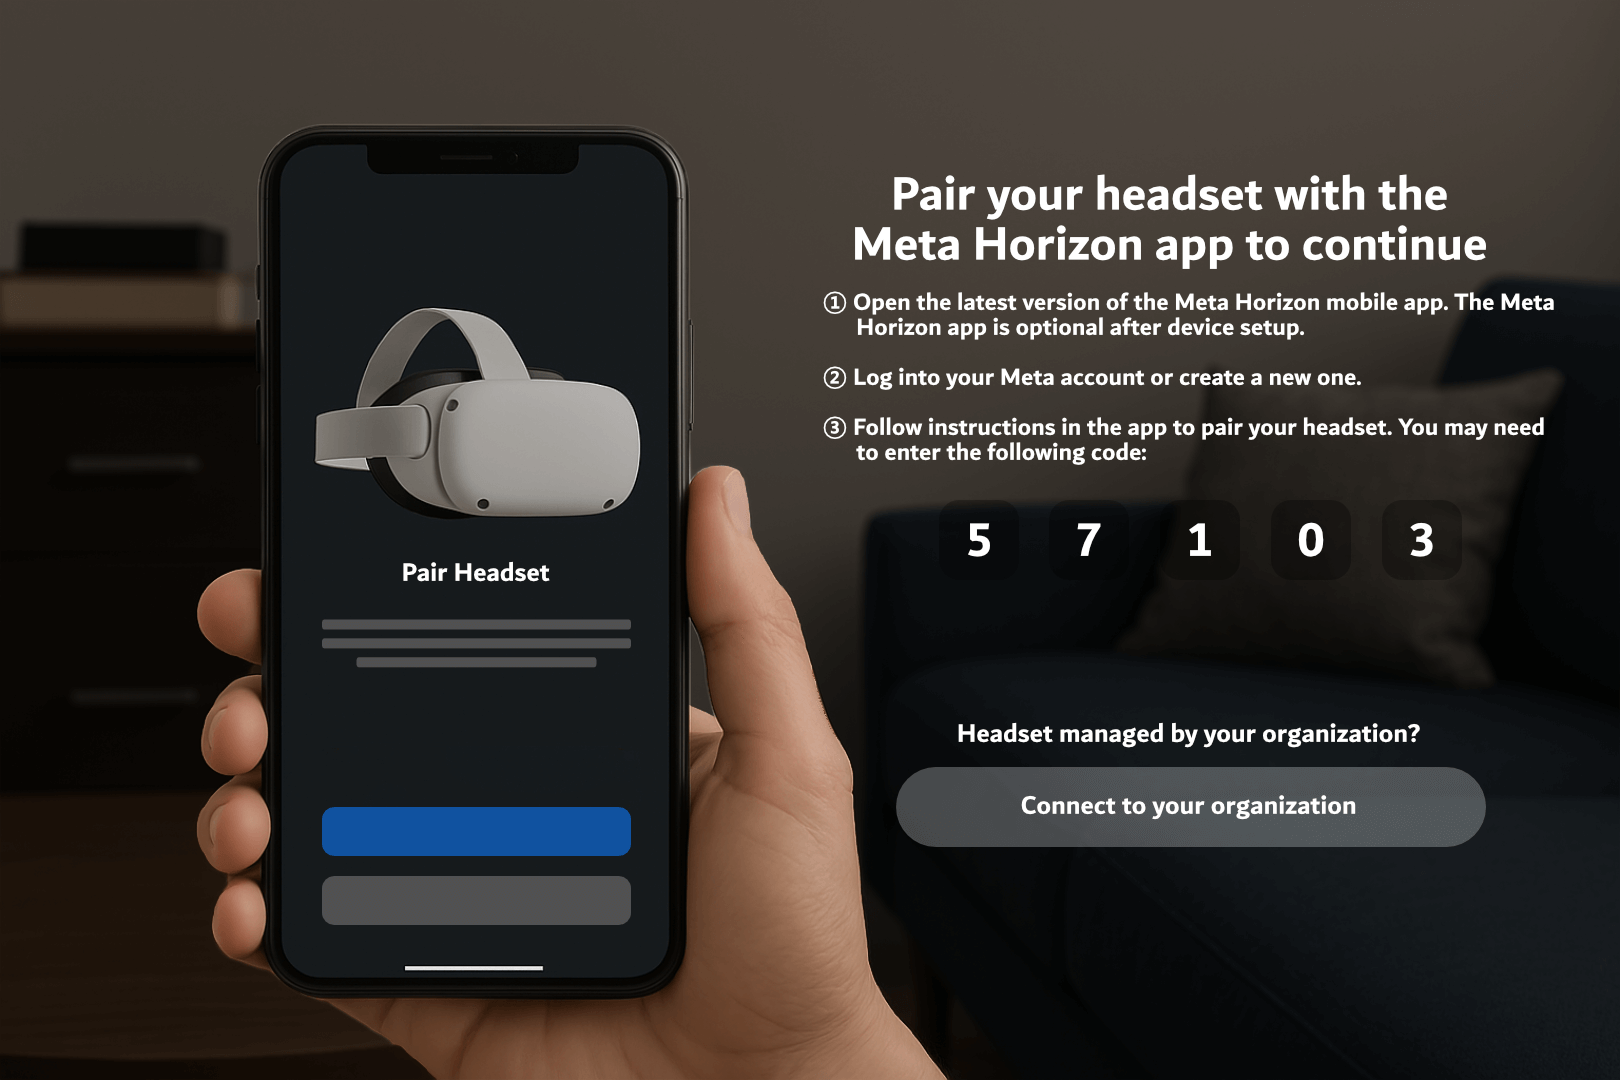
At this point, do not follow the instructions for pairing with the mobile app. Instead, proceed with enterprise configuration.
Skip Mobile App Pairing – Select Organization Setup:
- On the screen prompting you to connect using the Meta mobile app, click “Connect to your organization” instead.
Connect to Work/School Account:
-
The next screen is titled “Connect your headset to your work or school”.
-
Click Continue to proceed.

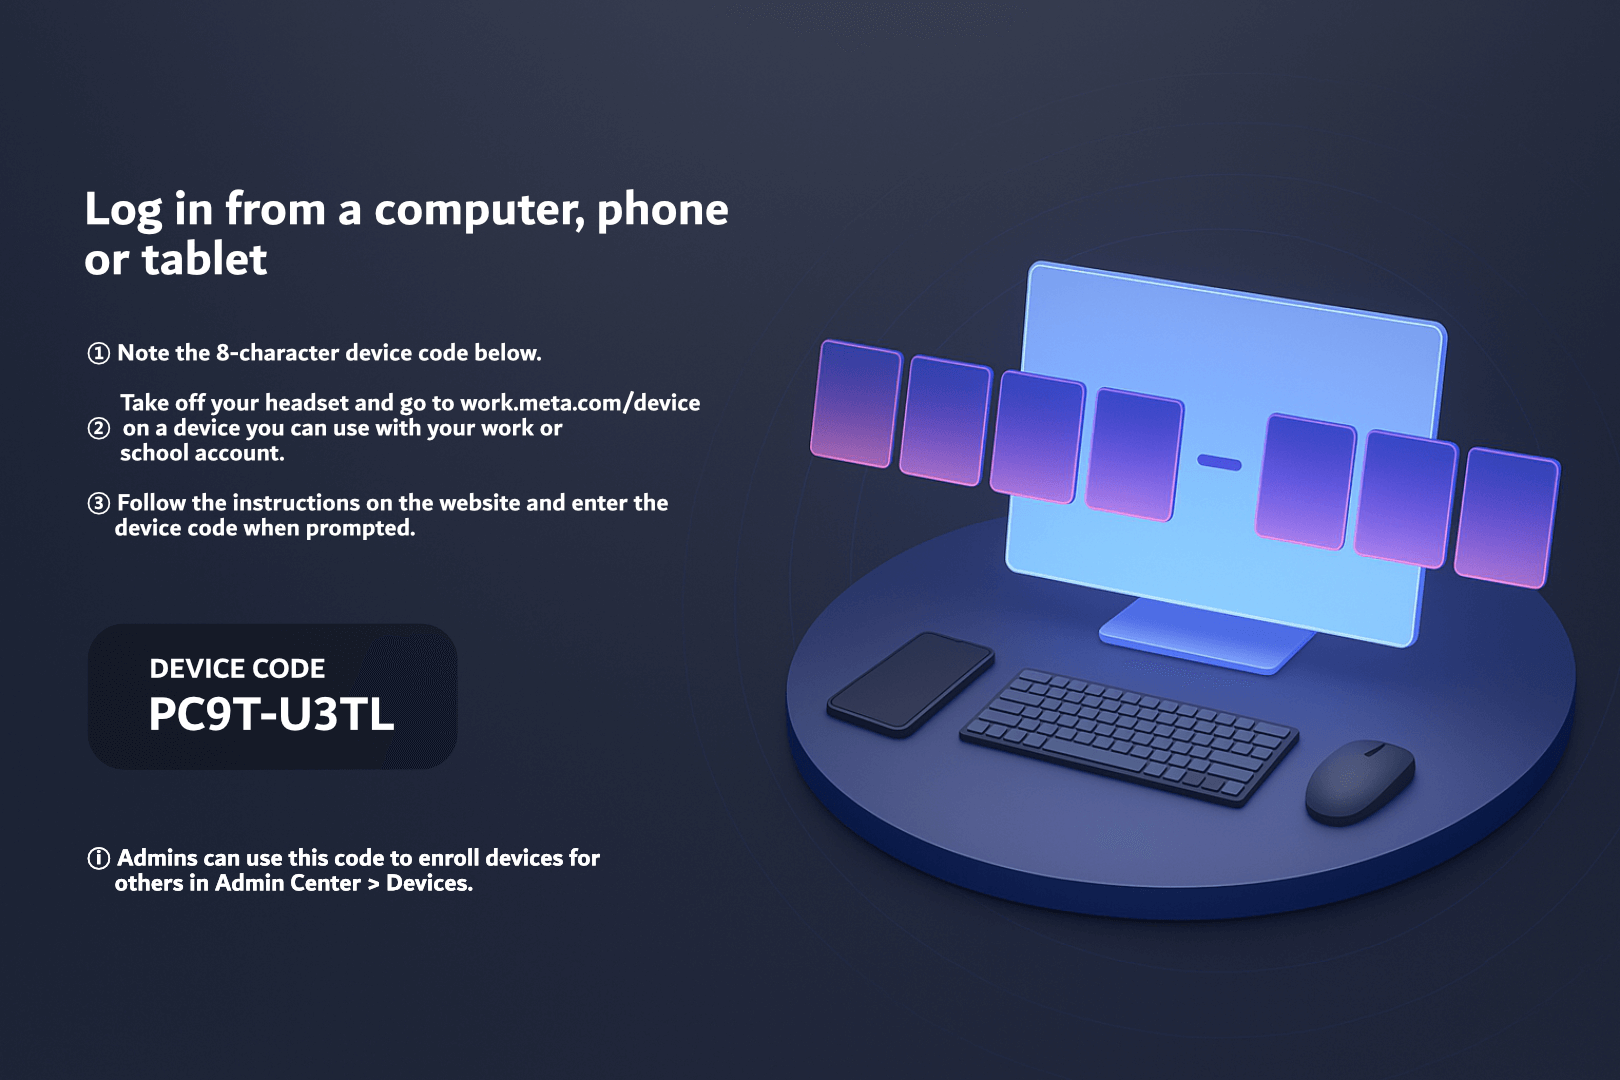
Enroll Using Work Meta Portal:
-
The headset will now display a unique device code.
-
On a separate device (PC or smartphone), go to: work.meta.com/device
-
Log in with your organization's Meta admin credentials.
-
Enter the device code to enroll the headset under your organization.

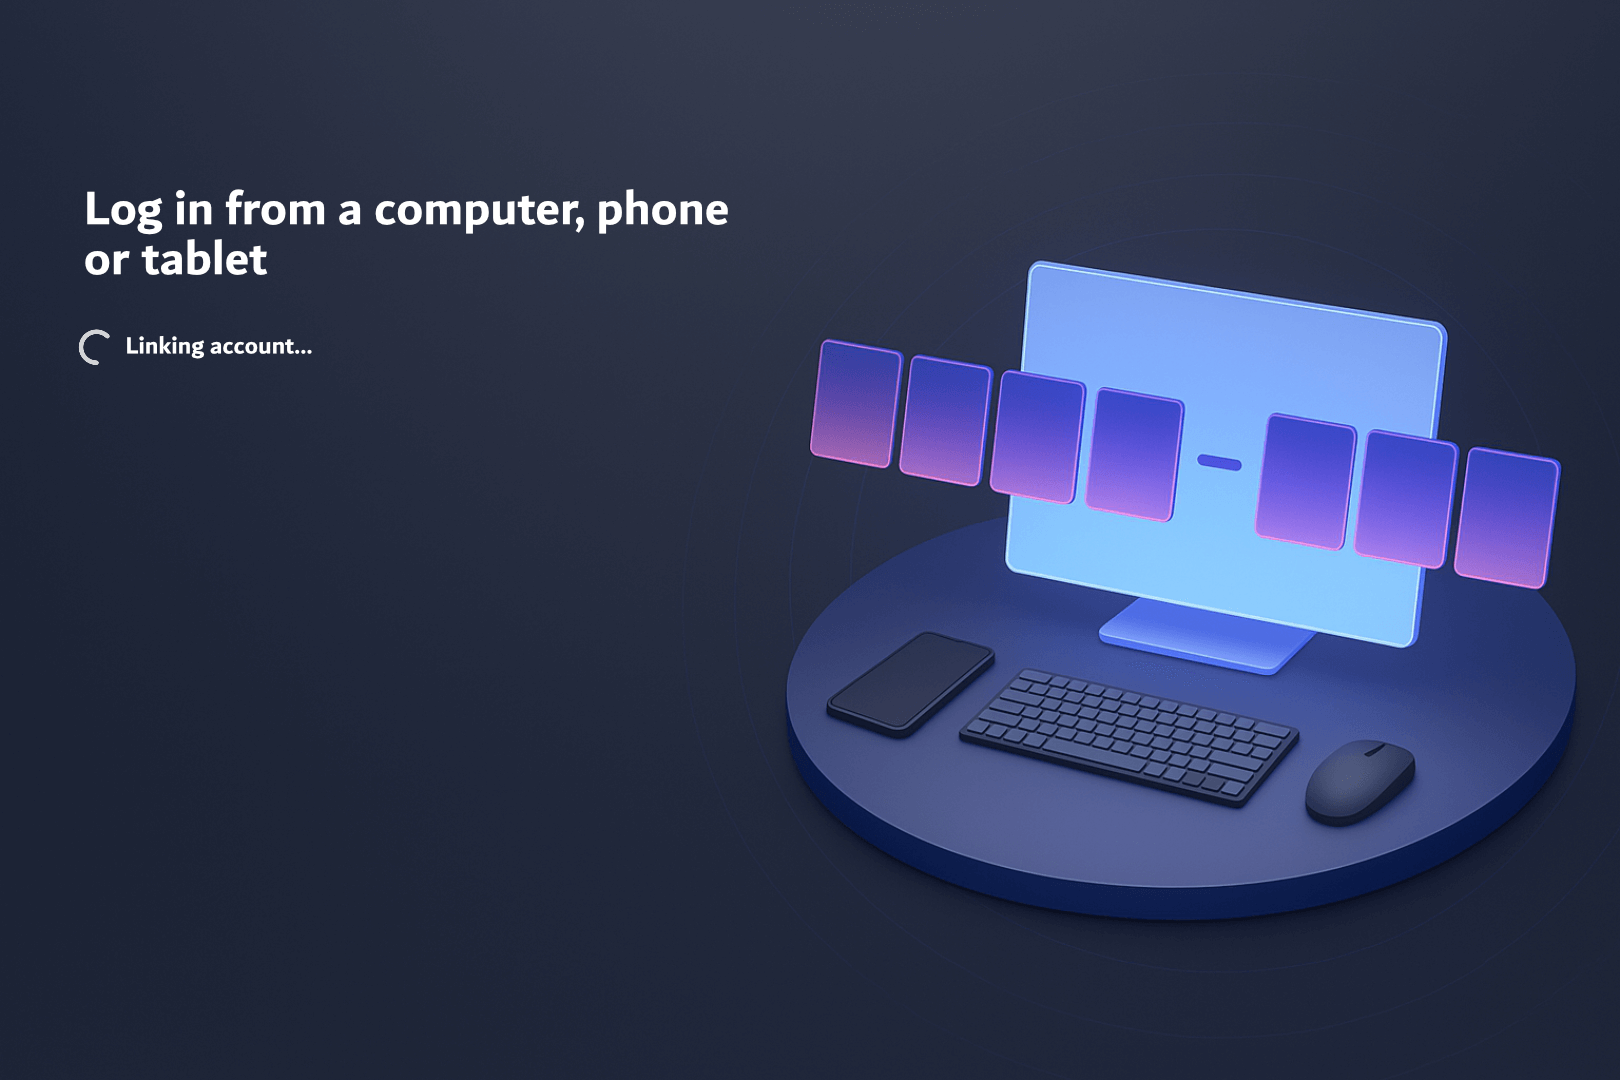
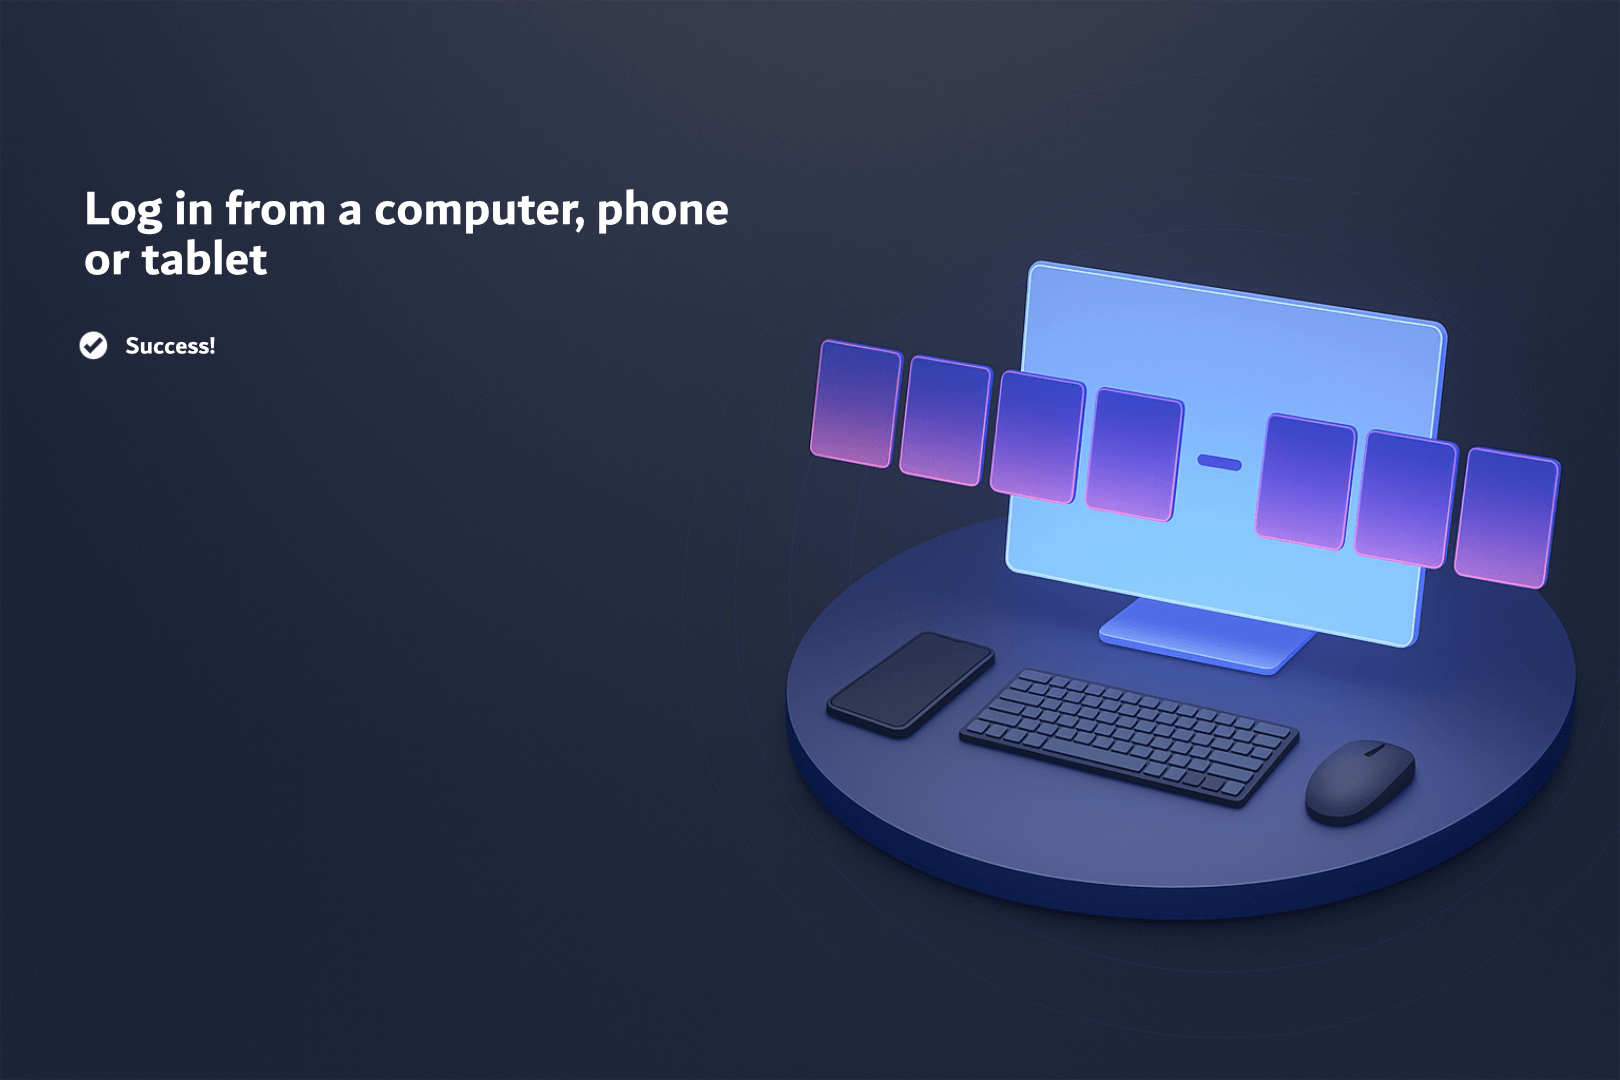
Enrollment Confirmation:
-
You’ll see a “Linking Account…” message.
-
Once successful, a confirmation will appear.
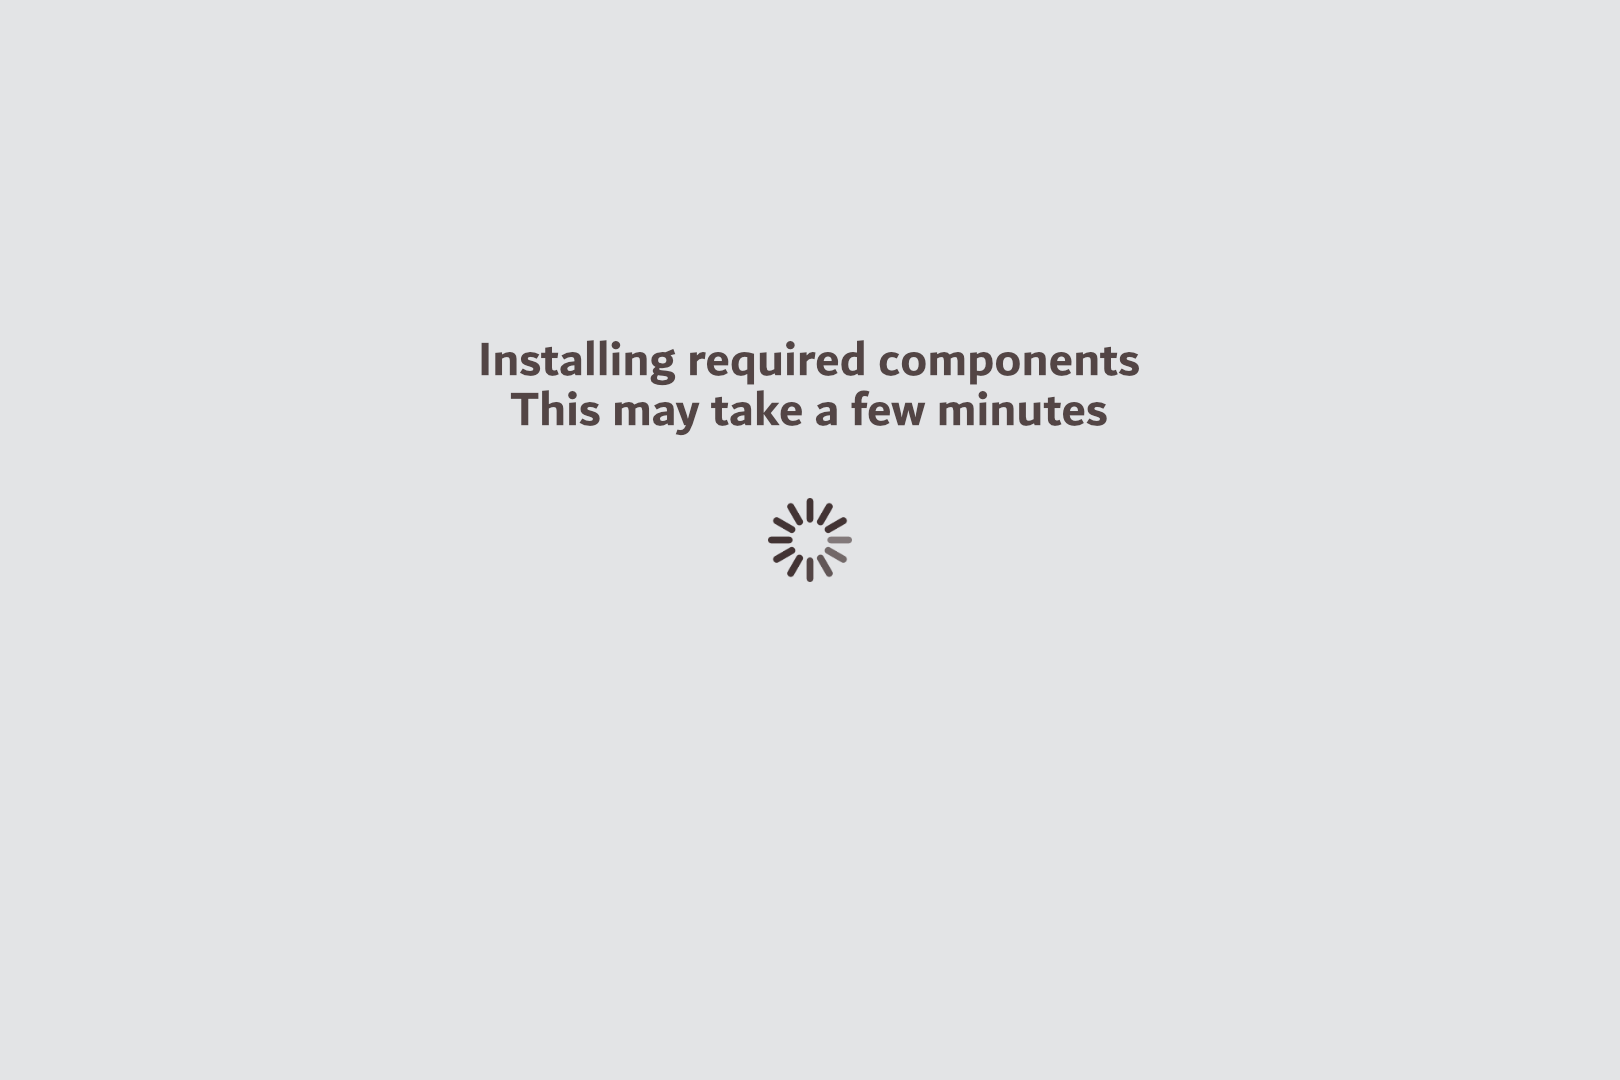
Install Required Components:
-
The headset will automatically begin installing system components.
-
This process may take a few minutes.
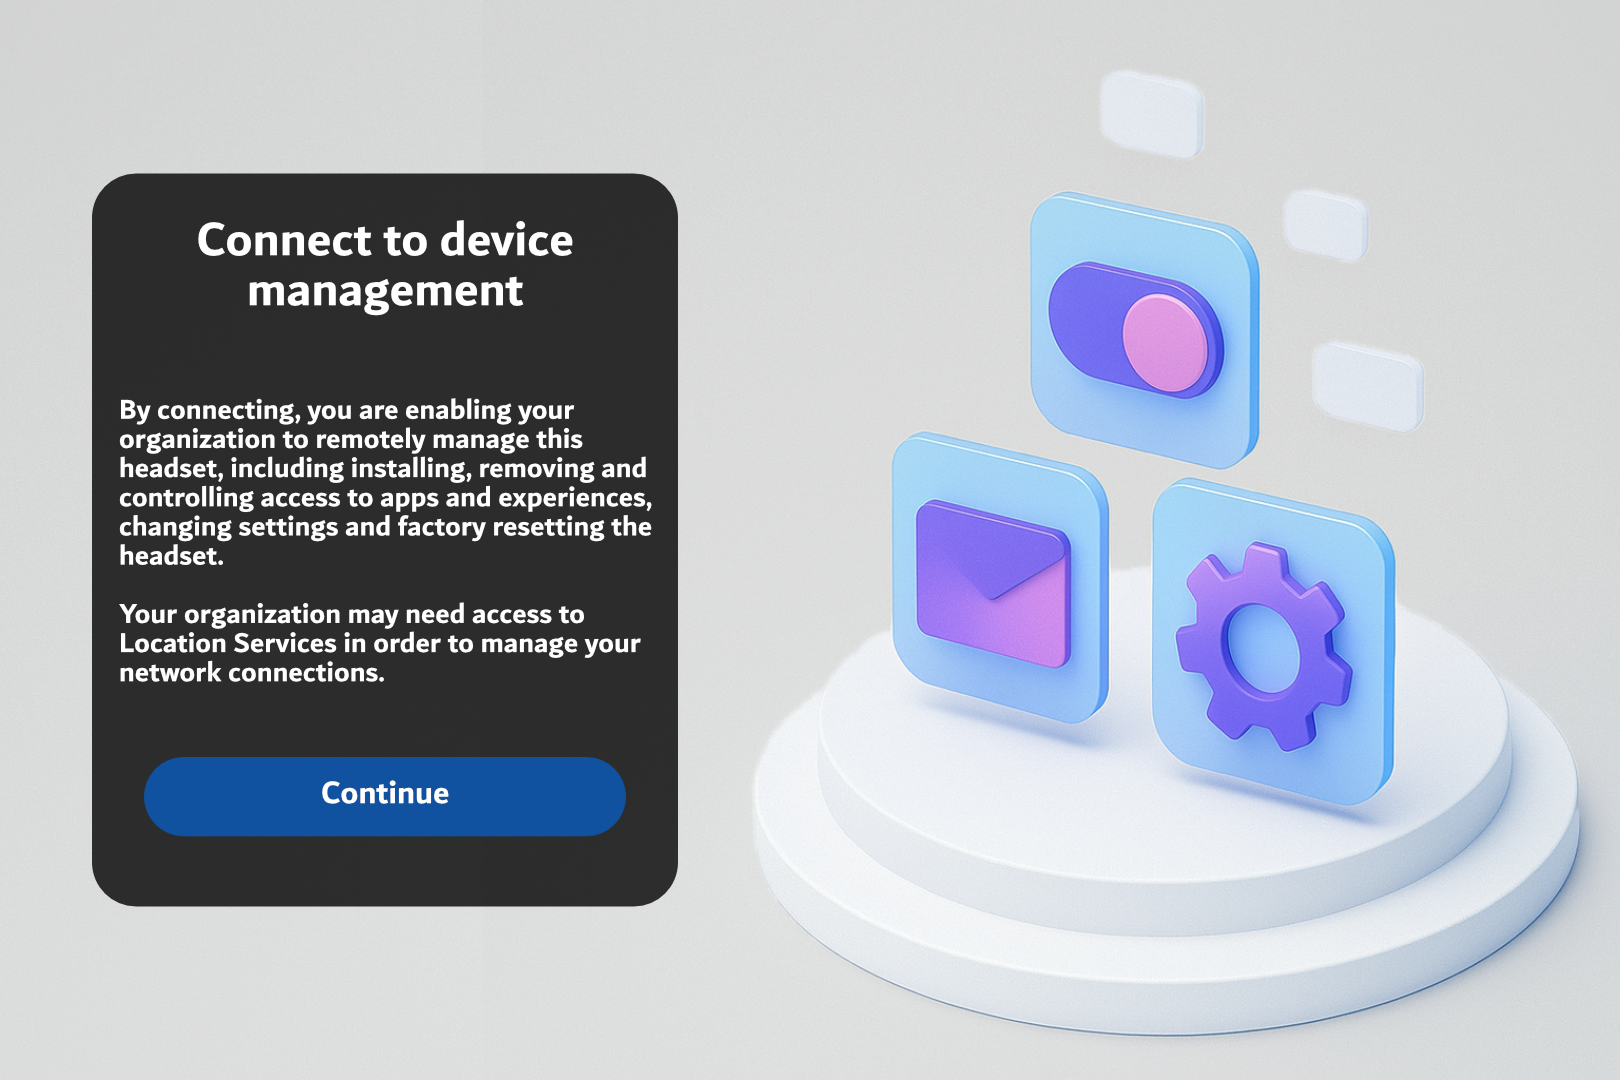
Connect to Device Management:
-
Press Continue when prompted.
Configure Your Headset:
-
Click Continue to allow the system to auto-configure the device.

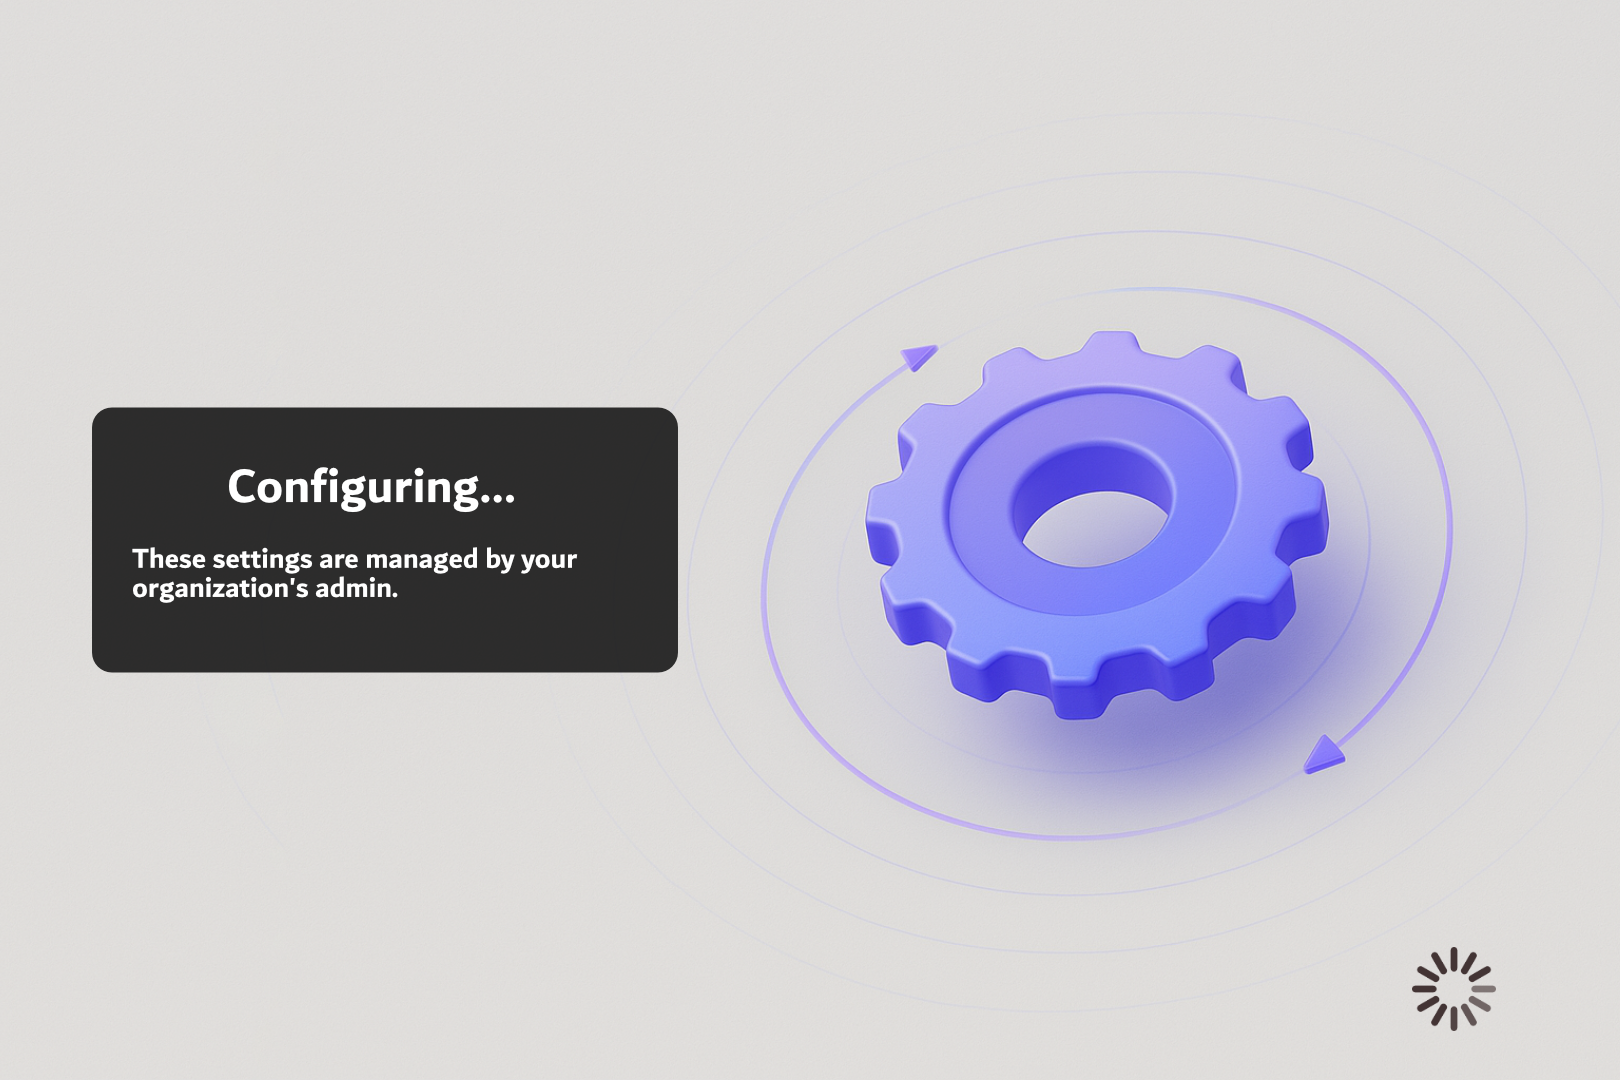
Wait for Configuration to Complete:
-
A progress screen will display. Wait until the process completes.
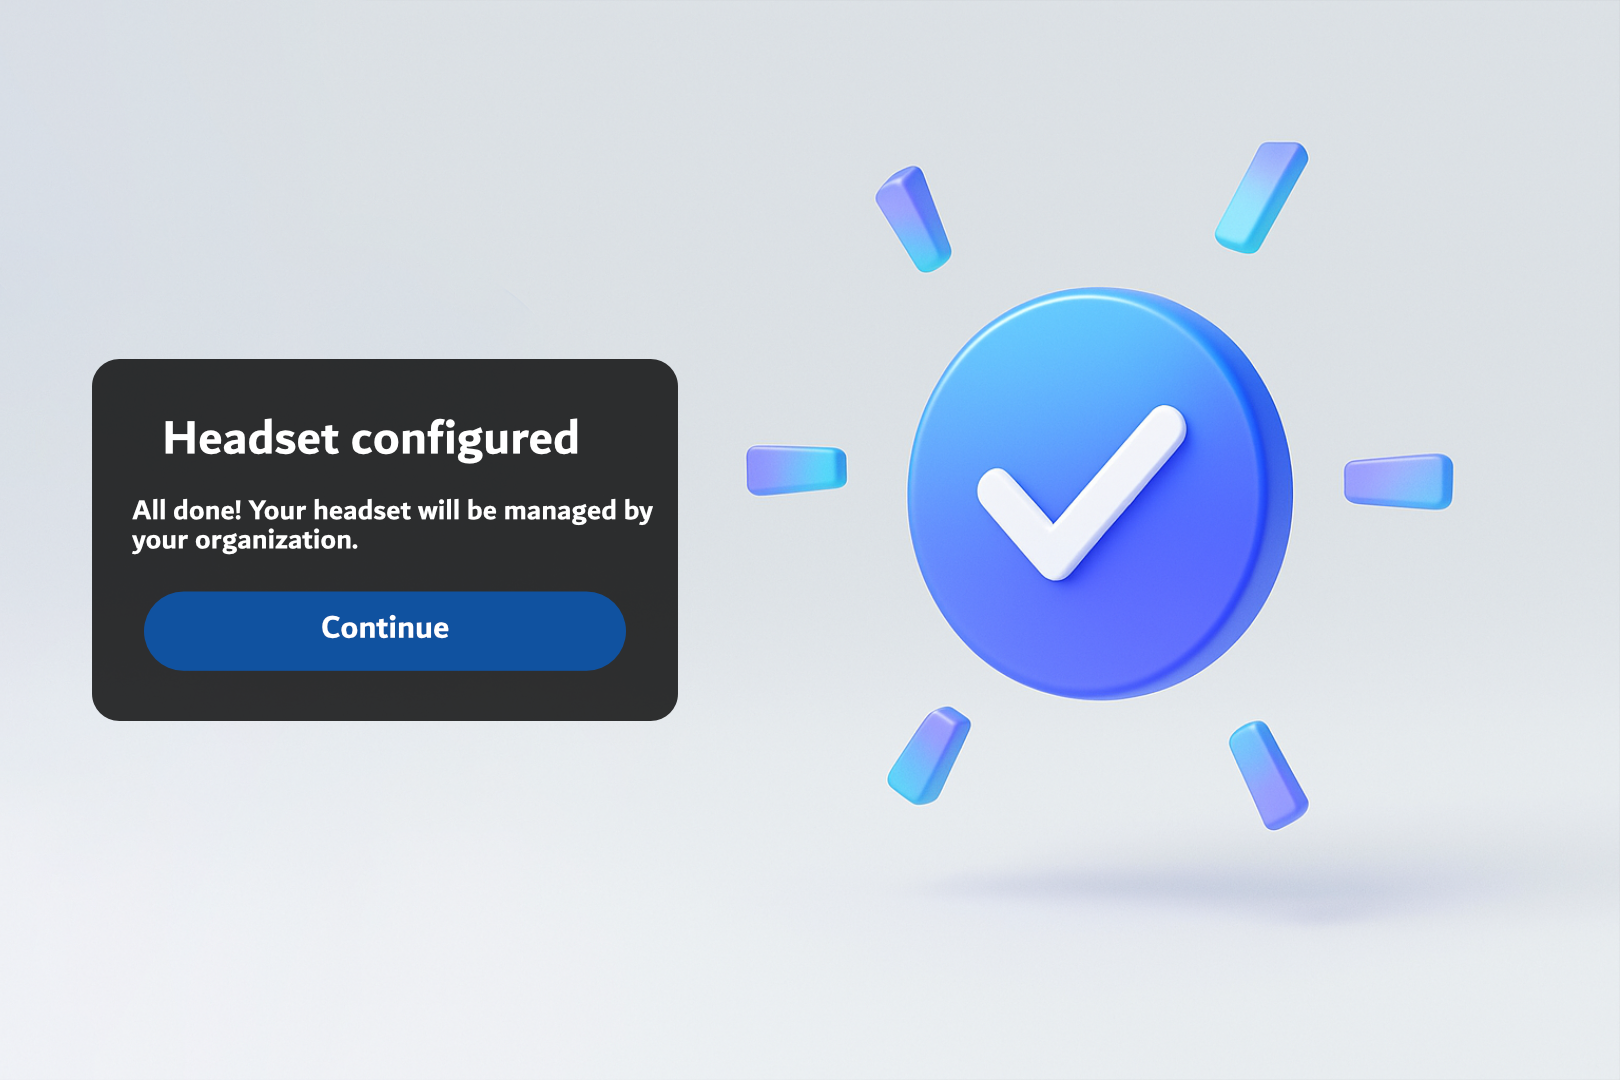
Headset Configured Confirmation:
-
Once done, press Continue on the “Headset Configured” screen.
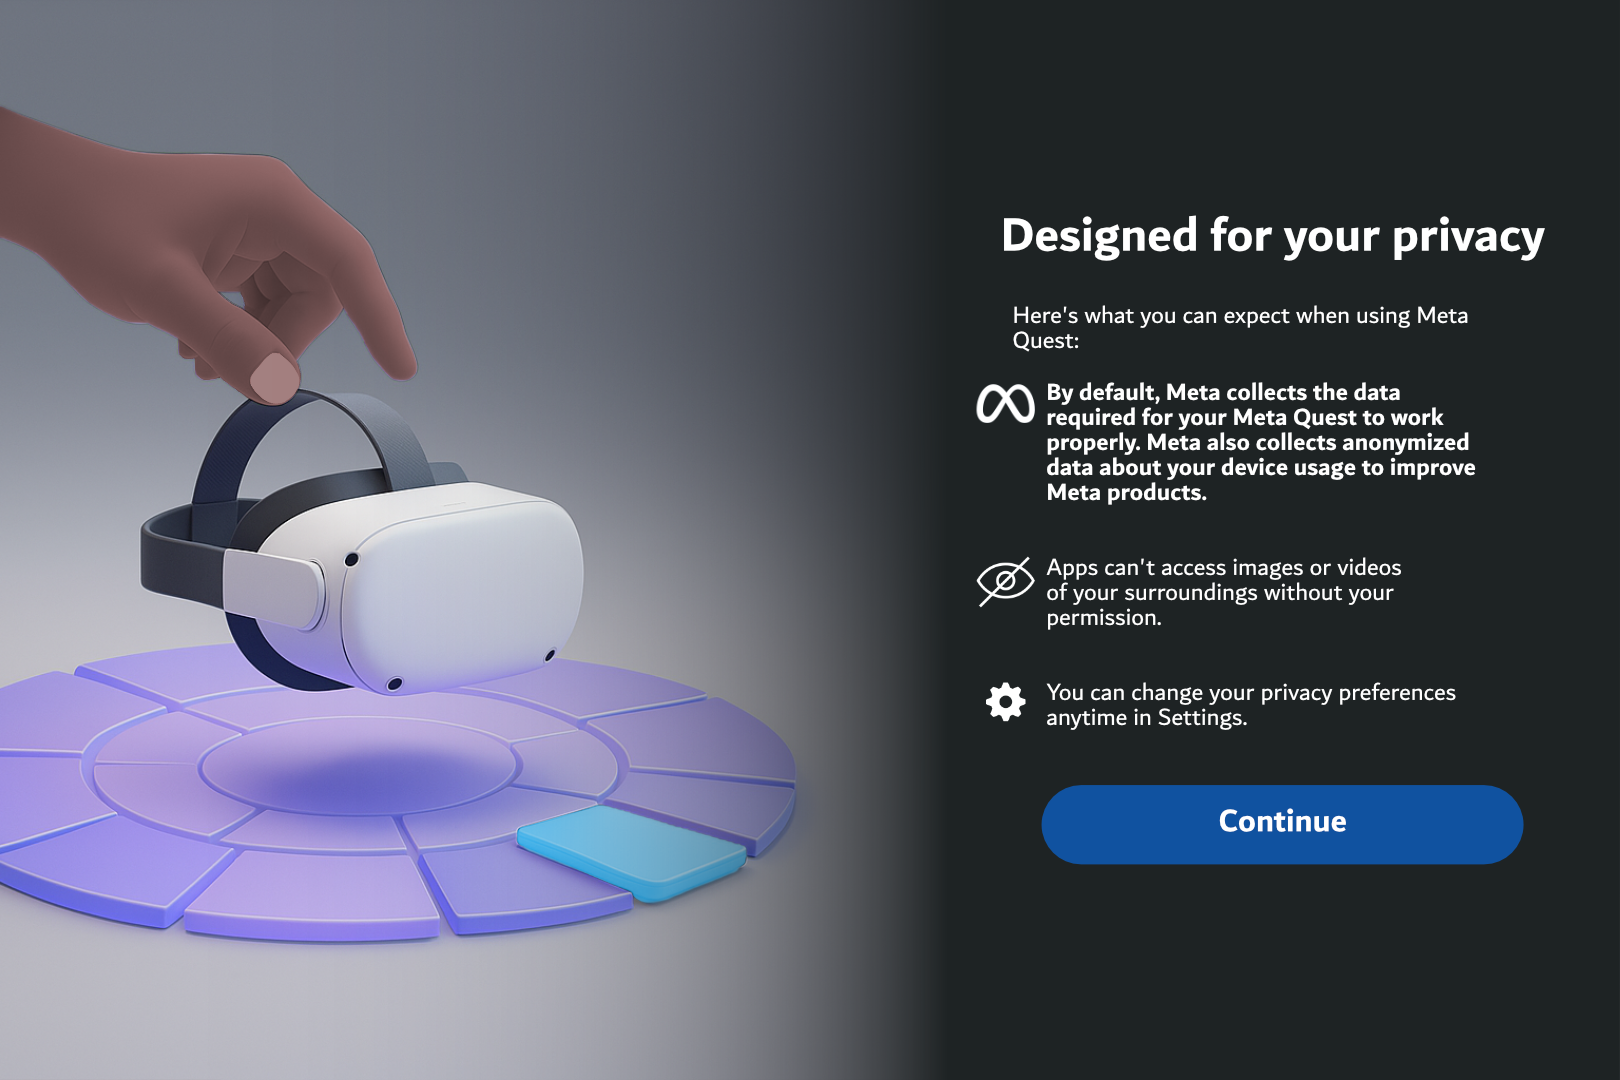
Privacy Notice:
-
Read the “Designed for your privacy” message and click Continue.
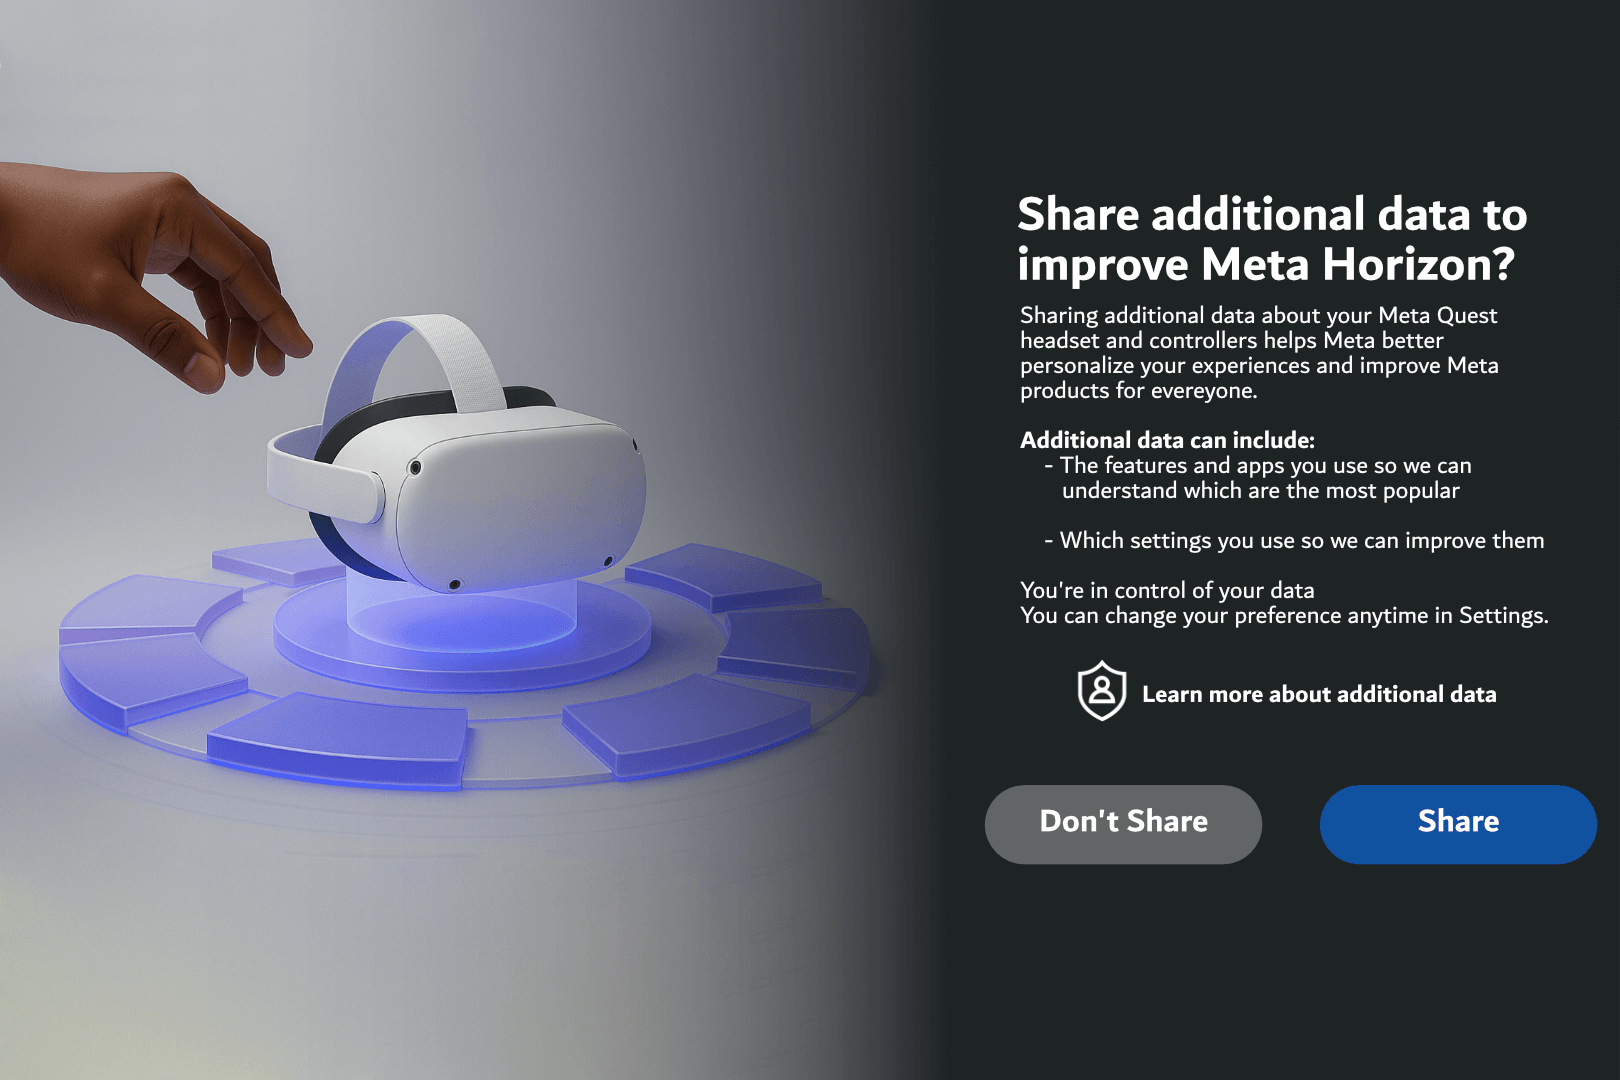
Data Sharing Preferences:
-
Choose whether to share anonymized usage data with Meta.
-
For enterprise devices, we recommend selecting “Don’t Share”, but this is optional.

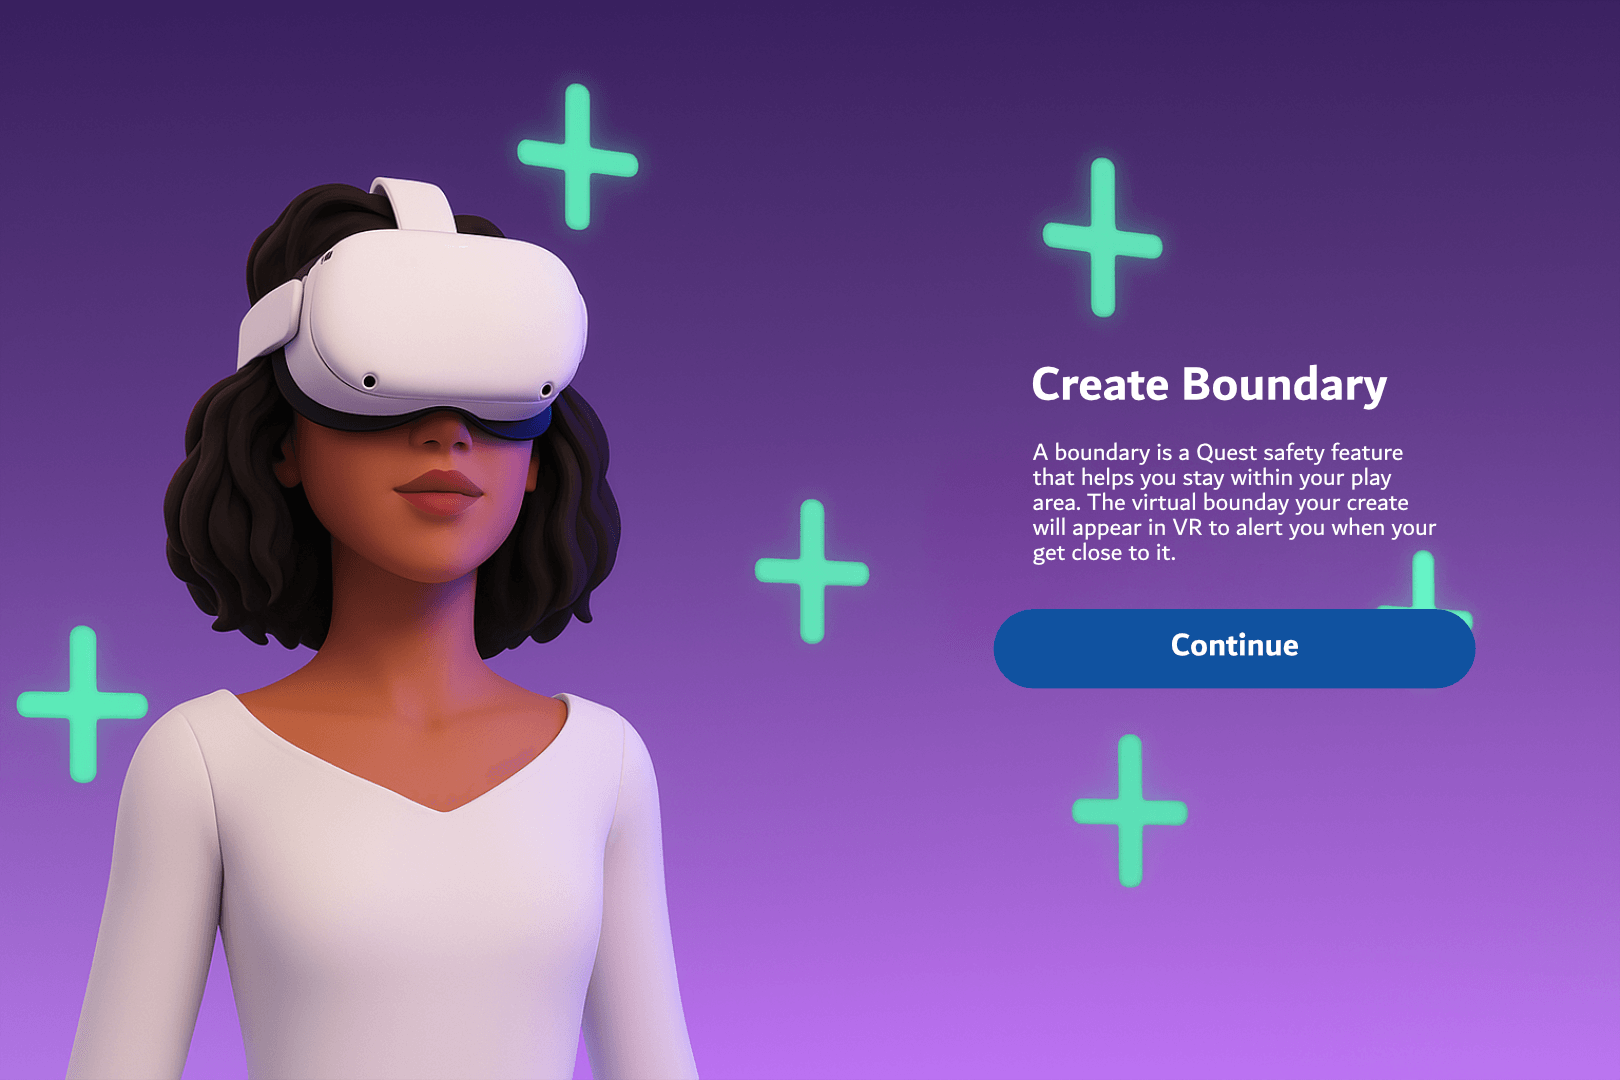
Create a Guardian Boundary:
-
Follow on-screen instructions to map your play space.
-
Choose Stationary Boundary if seated, or Roomscale for standing/walking setups.

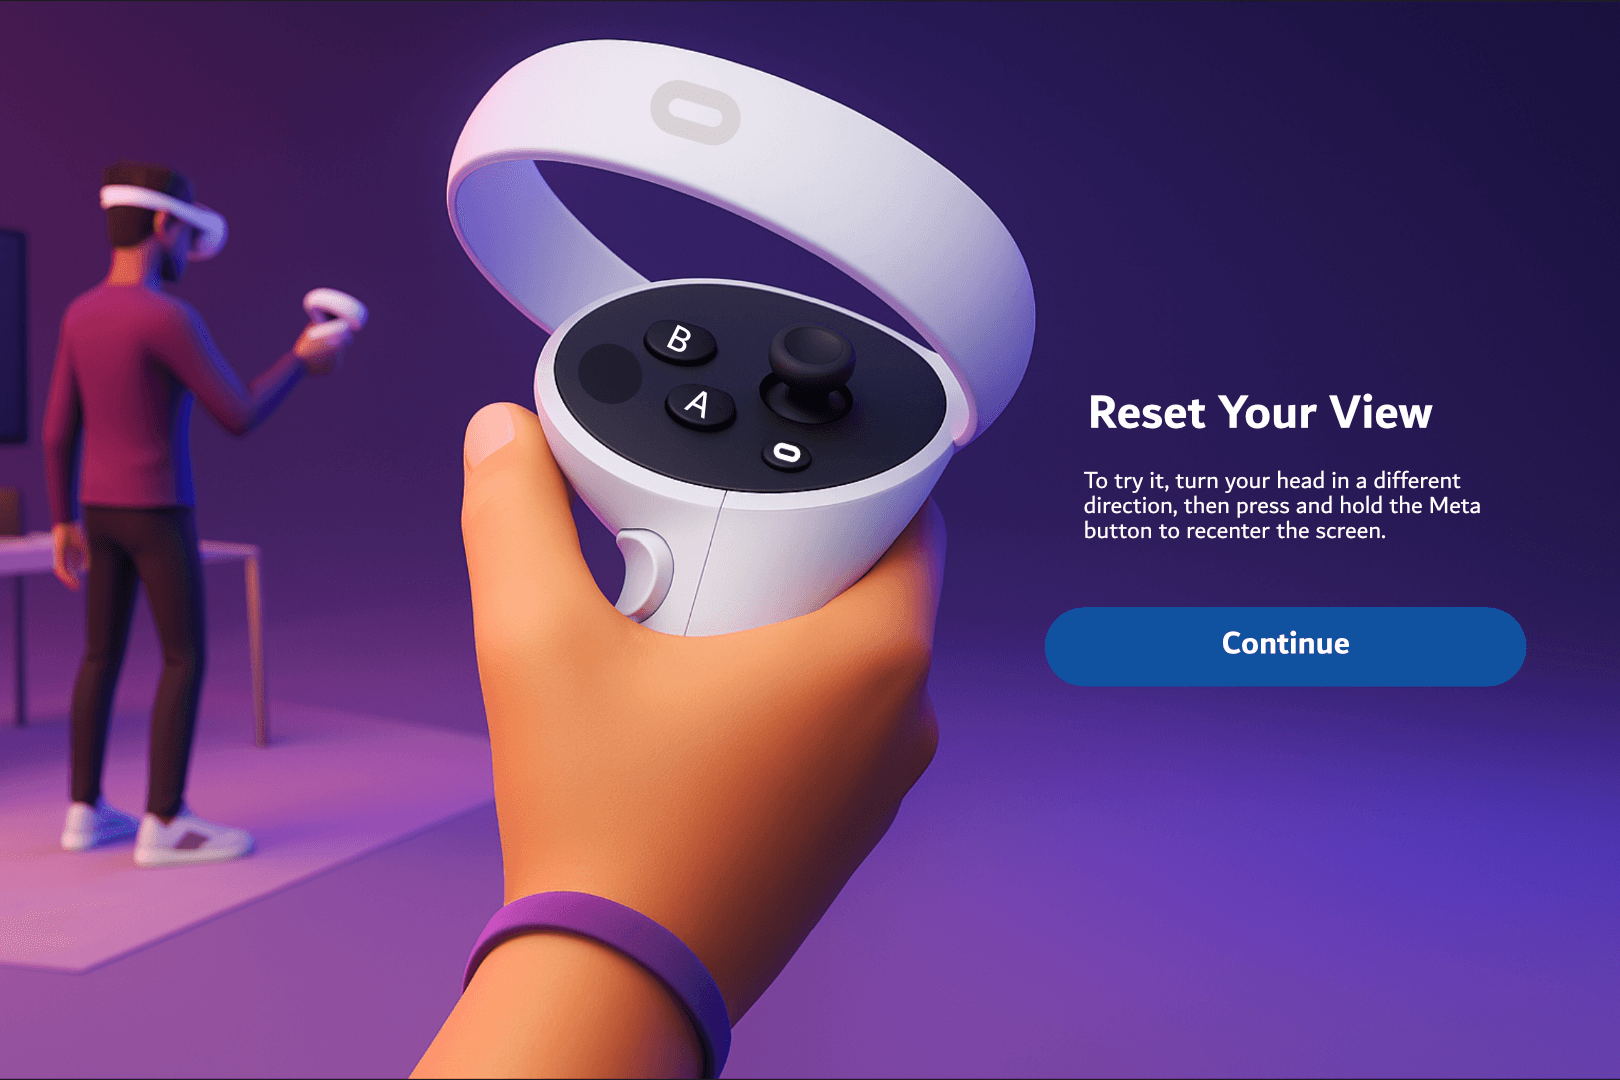
Learn to Reset View:
- You’ll be shown how to recenter your view by holding the Meta button on the right controller. Press Continue.
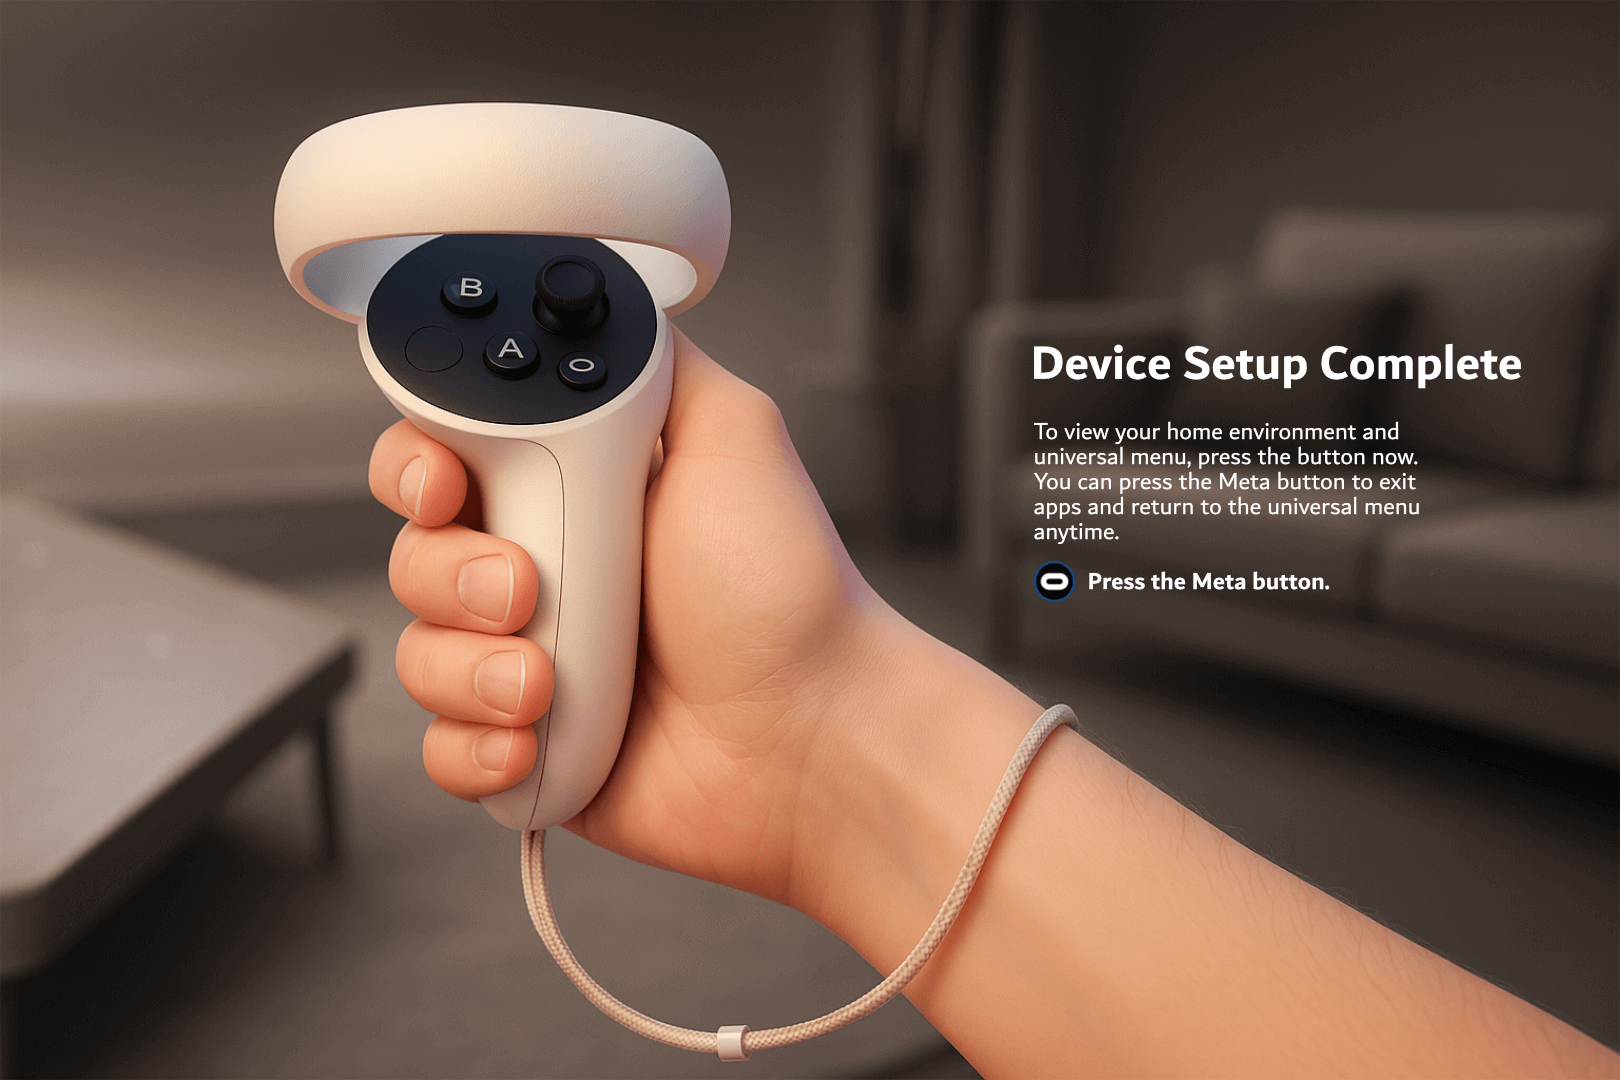
Complete Setup:
-
The final screen will show “Device Setup Complete.”
-
Press the Meta button to enter the Home environment.

Section 4: Accessing Next World Software on Your HMS Headset
-
From the Home screen, open the Library.
-
Navigate to the “For Work” tab to find the Next World app.
-
The app will launch in Demo Mode by default.
-
Enroll Device in Next World Platform:
-
Log in to the Next World Platform.
-
Register the device using the displayed Device ID under your organization's account.
-
This will unlock access to all assigned content and features associated with your subscription.