The Portal, Training Management and Insights
Information and support articles on how to manage trainees, training and read insights from the Next World Portal.
- How to change or reset your password
- How to schedule or roster using the Training Schedule
- Organising your trainees into Training Programmes
- Exporting data to CSV
- Managing the members of your division
- Setting up your headset
- Managing your company or organisation's structure
- Finding training insights and data
- How to find trainees who require training (expired or untrained)
- How to access the Next World Platform Portal
- How to view information from other divisions and subsidiaries
- Using filters in the Platform Portal to control tables
- Training States: How to tell what stage an employee's training is at
How to change or reset your password
Forgotten your password? This article shows two methods to change your password.
Resetting your password from the login screen
From the Login Screen, select Forgot Password? in the bottom right-hand corner of the Login box.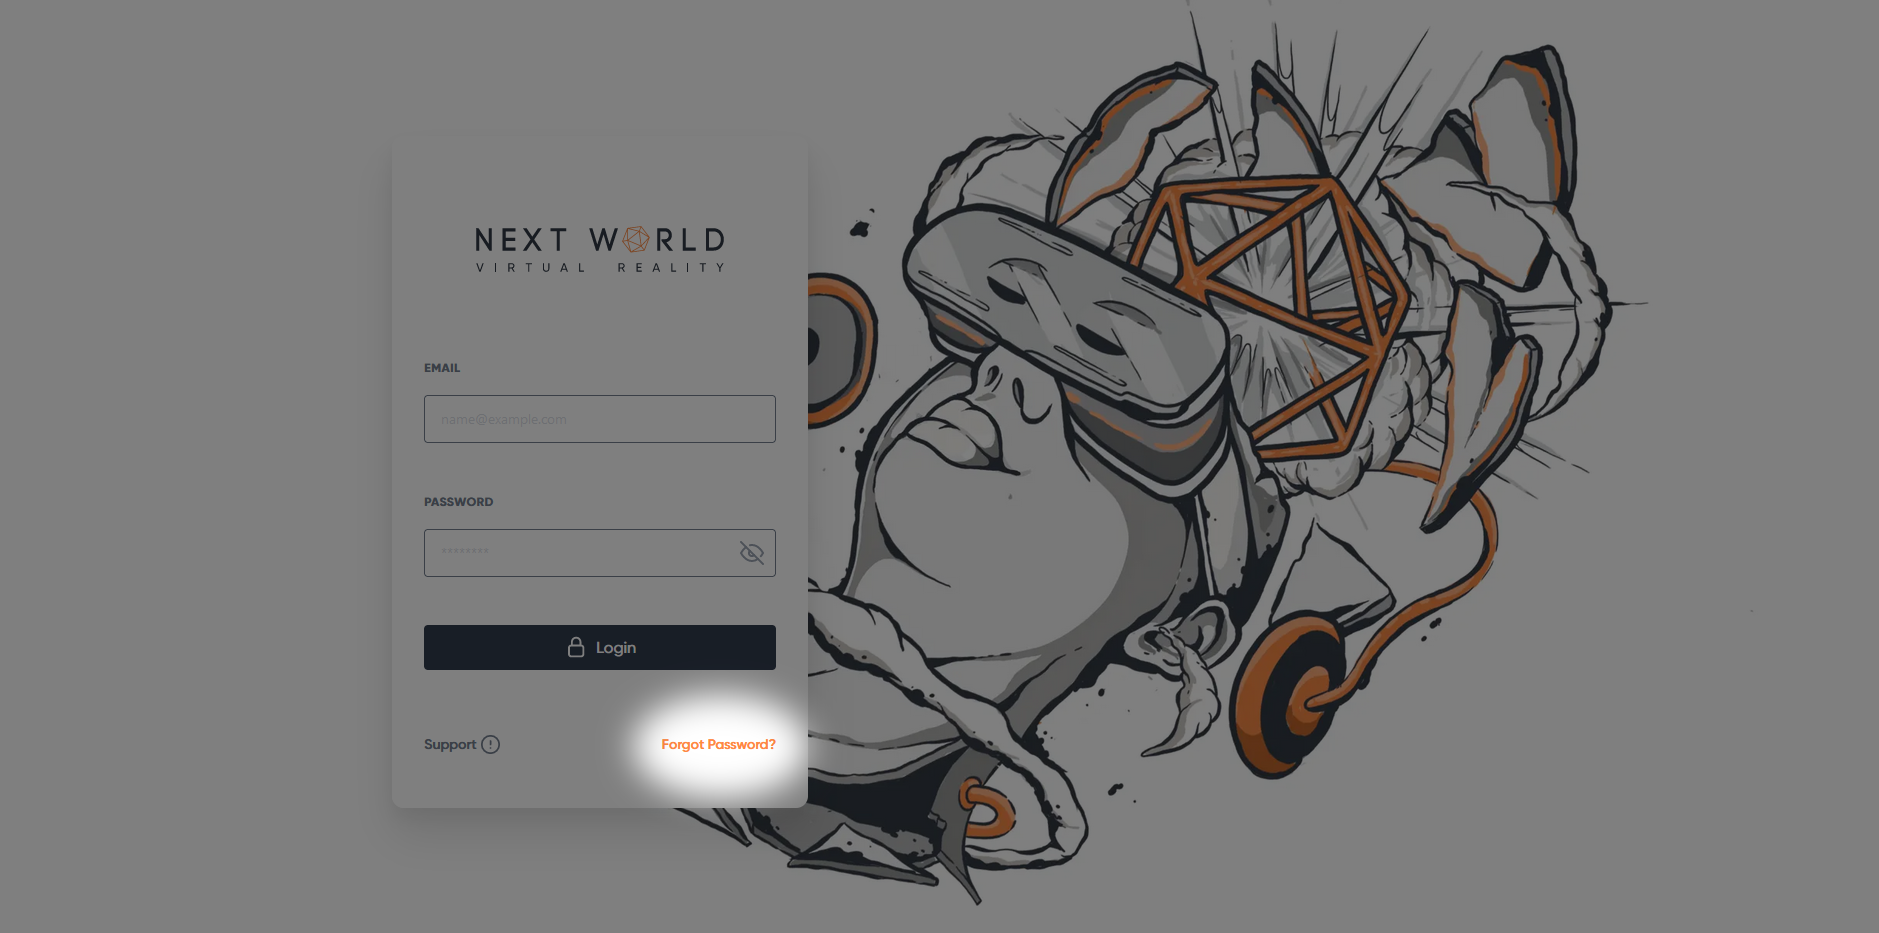
You will be redirected to the Password Reset Request Form. Enter the email for your account and select Submit.
You will receive an email with instructions on how to reset your password.
Resetting a password from the Portal
You can also reset your password or a member in you organization's password from within the portal.
To reset your own password, click on your name at the top of the navigation bar to open your profile > click on the Password tab > select Request Password Reset.
To reset the password of another member, go to Admin > Members > select the desired member > click on the Password tab > select Request Password Reset.

Once you select Request Password Reset, an email will be sent to the user with instructions on how to reset their password.
How to schedule or roster using the Training Schedule
The training schedule allows you to easily book a dedicated time for your trainees to complete their required courses, while also being able to see the current status of their training.
How to schedule training
Click on Training Schedule in the left navigation bar to bring up the scheduler.
On the left panel you will see a list of users in your organization who you can book in for training. You can use the search bar to look up a particular user by name, or you can use the filter button to the left of the search bar to sort them further by what experience they need to complete, training programme, training status or division.
This makes it easy for you to see all users who have outdating training, for example, and book in their refresher training in one go.
Please note: Users must be in at least one programme before they can be scheduled with this feature. You can add a user to a programme from here by clicking on their Name > Manage Programmes.
You can book in a trainee for training by 3 different methods:
- Click on the Schedule Training button in the top right-hand corner > fill out the required information > confirm by selecting Schedule.

- Click on the desired time slot on the calendar view. This will pre-fill the time and date of the training for you, so you only need to enter the trainee's name and experience they need to complete.

- Drag the name of the trainee into the desired time slot on the calendar view. Using this method, you will only need to select which experience they need to complete.


Once you have hit Schedule, the user will be sent an email (if the have an email address attached to their account) informing them of what course they need to complete, the date and time, and their unique 4-digit access code.
How to cancel scheduled training
To cancel a training session, simply click on the Training Appointment > select Remove > and Confirm.
Training Schedule FAQ
Q: Do all users need to be scheduled for training before they can use the VR headsets?
A: No, not at all. The training schedule is not a prerequisite, and users can complete training at any time. It is an organisational tool.
Q: If I schedule someone in for training, does that mean nobody else can do it at that time?
A: If you have multiple headsets, you can schedule multiple people on the same timeslot. The scheduling tool is purely for administrative assistance and does not limit headset access.
Q: Can I change the duration of the booking?
A: Not currently. The default training timeslot is 1 hour.
Organising your trainees into Training Programmes
Training programmes (formerly known as 'training cohorts') allow you to create unique training setups for users across your organisation that have different training requirements to ensure that all of their training is up to date and relevant.
Each programme is comprised of a list of courses, a frequency that those courses need to be completed, and included members. Any member added as a trainee of that programme will need to complete all of the courses within it for their training status to be "certified", and keep that training up to date by repeating it at the set frequency (for example, every 6 months).
For example, you may have warehouse pickers that need to complete an array of courses such as Hand Safety, Manual Handling and Working Around Forklifts, so you can create a dedicated "Warehouse Training" programme for them. However, you may also have office staff that only need to complete courses pertinent to their job (such as Office Hazards and Slips, Trips and Falls) - so you could create an 'Admin' programme just for them. And you might want every member of your organisation to be trained in using fire extinguishers, so you could create a programme for that purpose and include everyone.
Training status and expiry dates are dependent on training programmes, so it is important that your users are set up correctly.
Training programmes are how the platform keeps track of who's training is current, overdue or expired, so it is important that all of your members are set up in a programme
Setting up Training Programmes
To view your current training programmes or create a new one, select Training Programmes from the left navigation bar. It will show you a summary of all your organisation's programmes and their details.
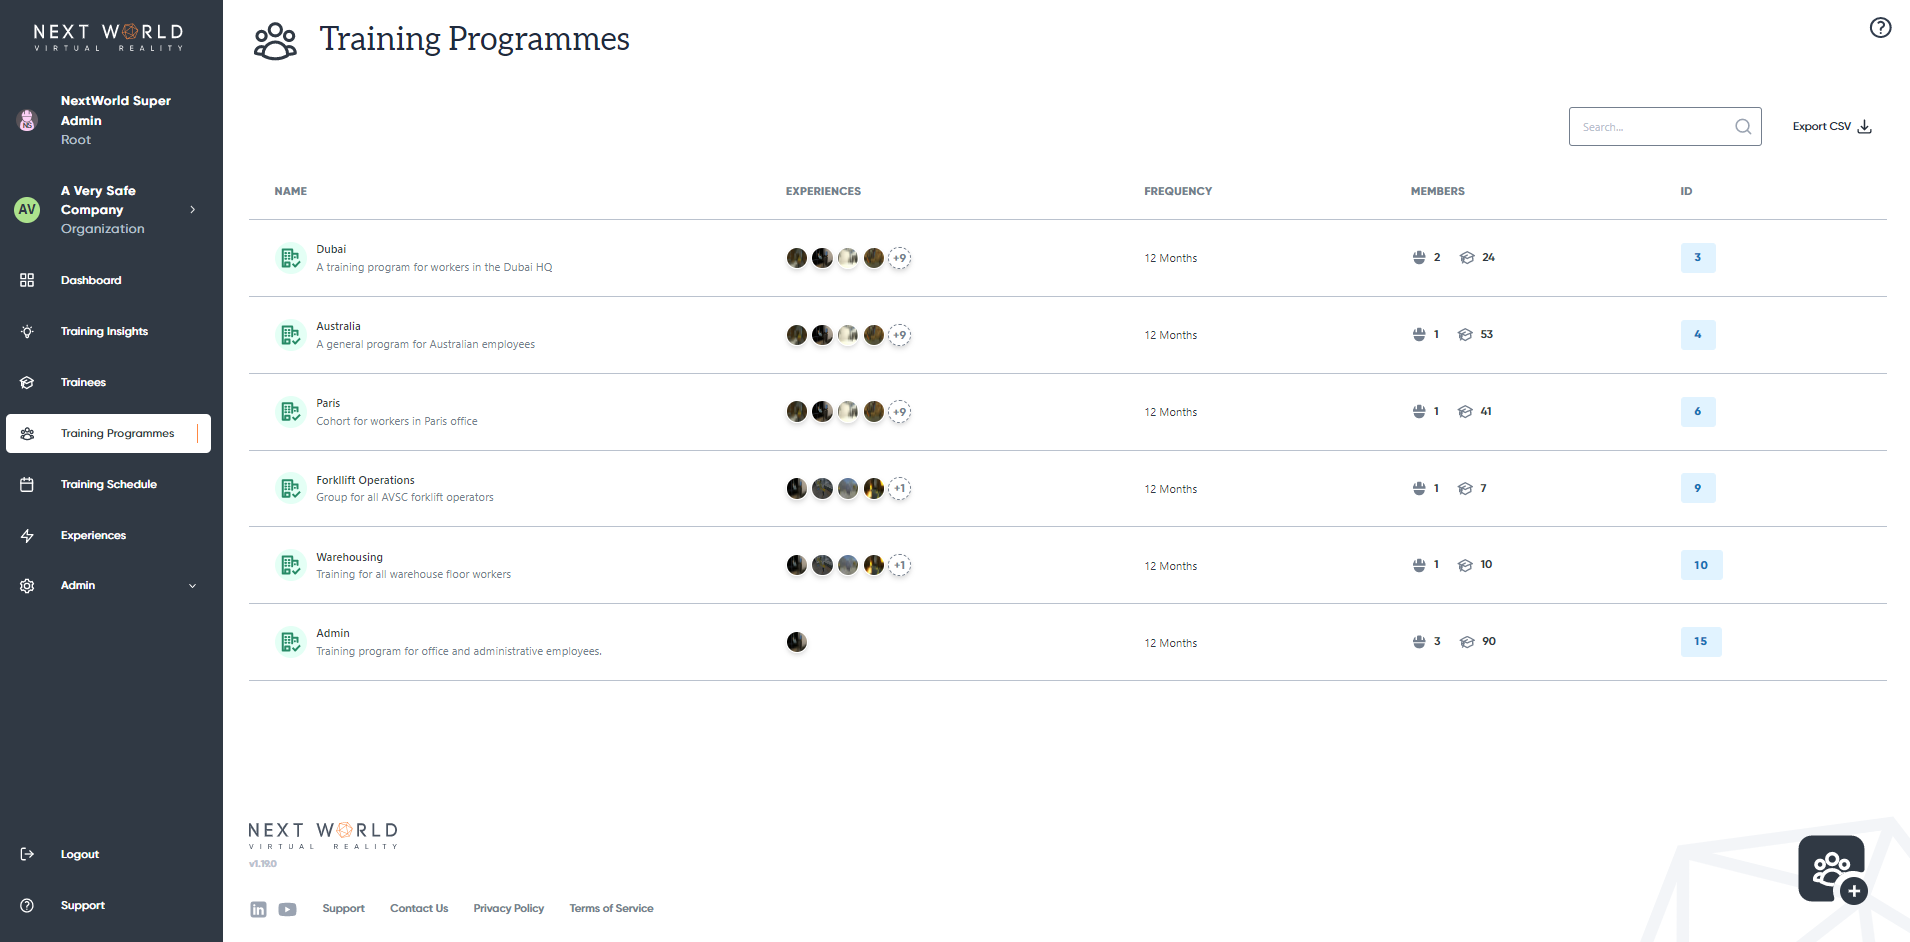
To create a new programme, select the Create New icon on bottom-right to be guided through the set-up wizard. You will need to walk through the following steps:
- Enter Details
- Programme Name
- Programme Description (optional)
- Training Frequency (how often your trainees will be required to complete the experiences)
- Select Experiences
- Select which experiences are included in this programme (what your trainees will be required to complete)
- Define Members
- Select which members will be trainees in the programme by selecting their requirement as Train
- Select at least one owner of the programme by marking their requirement as Manage
- Confirm Summary
- Review the details you've entered, and then select Create to finish
Editing and deleting programmes
You can edit the details of a programme by selecting it in the Training Programmes Section. From there you can edit the details, included experiences and members.
To delete a programme, select Archive under the Details tab.
Archiving a training programme is permanent and cannot be undone. It will affect the training status of any member within it
Adding additional users to the programme
You can also add members to an existing programme from the Manage Member pop-out. You can access this by selecting the member's name under Trainees or Admin > Members, and then selecting the Training Programmes tab. This will show you a list of existing programmes, and you can easily add the user to any of them. By clicking on the expand icon (+), you can expand the details to see what courses are included in that particular programme. When done, select Update to save.
Similarly, you can manage your own programmes by selecting your name at the top of the navigation bar and following the same steps.
Any place that requires a member to be a part of a programme (such as the scheduler, for example) will also give you the option of to manage a user's programme details if they are not part of one yet
Exporting data to CSV
The portal has the ability to export a number of different datasets to a CSV file for your convenience.
You can export the following data tables:
- Session Data
- Trainees
- Training Programmes
- Divisions
- Members
- Devices
How to export data
On the page you want to export the table from, simply click the Export CSV button in the top-right of the page. This will begin the download of the CSV to your device.

Any filters you have applied to the table will apply to the exported data. If you want a complete export of all data, be sure to clear any filters first.
How to export session data from a date range
If you only want to export the session results from a specified date range, you can do that with the help of filtering. Go to Training Insights > click on the Filter Icon > select the desire date range by entering a From Date and To Date > click Export to CSV.
This method can be applied to any other page with exporting functionality. For example, if you want to export a list of all Trainees that are overdue for training, you can do so from the Trainees page by applying the Training Status filter of Overdue.
Managing the members of your division
The division management page gives you the ability to add or edit the members of your organisation, allowing for more granular team and member management.
How to add a member
To add a new member to your organisation, go to Admin > Members and select the Create New icon on the bottom-right. From there, you can fill out the following details:
- Name = enter the employee's full name
- Email (optional for trainees) = allows for the member to be sent notifications by email
- Division = select which division the user will be a part of
- Role = designates the role of the user on the portal
- Position (optional)
- External Reference (optional)
When you're done, select Add member to save them to your organization. This will generate a unique 4 digit access code for them to access training on the VR headsets. If they have an email address, they will also be emailed instructions to set up a password for the platform.
Manager or Admin members require an email address, as they will need to access the platform
How to bulk add members
You can also bulk add members by selecting Import Multiple Members where you can add multiple members at once or import from a CSV file.
How to delete a member
To delete a member, navigate to Admin > Members > select member > press Archive
Archiving a member is permanent and cannot be undone. You will lose all of their training data and they will not be able to access training with the same access code.
Multiple members cannot have the same email address, even after being archived. If you intend to create a new user with the same email address after archiving an old record, make sure to remove the attached email address first, otherwise you will not be able to use that email again.
FAQ
Q: What is an External Reference?
A: An external reference is a field where you can add your own reference IDs to a user, for example an employee number or site ID.
Q: Where do notifications go if a user doesn't have an associated email address?
A: Any notifications will be forwarded to the manager(s) of any training programmes that user is a part of.
Setting up your headset
The device management page under the Admin tab allows you to add and edit the VR Headsets licenced to your organisation. Registering your device here allows access to the Next World course library within the headset.
To add a new device, you must have administrative privileges within your organization. If you cannot add a device, please contact support@nextworldxr.com with the Device ID and we can register it for you.
How to add a new device
Start by inputting the device's unique ID into the Device ID field. You can find the device's unique ID by putting on the headset, it will display the unique ID.

You can also add an Alias as a name for your device. This is not required, but recommended for your future reference. Lastly, choose the company/division you wish to assign this device to. Select Add Device to confirm and add your device.
Once done, you will be able to access the Next World software from your device.
Since you have added new information to the platform, your headset will need to be connected to the internet to synchronise this data.
How to edit or remove a device
To remove the device, select Archive.
Archiving a device is permanent and cannot be undone. This will result in your being unable to access the course library from that device ID.
FAQ
Q. I registered my device but it is not updating on the headset
A. Make sure your device is connected to a stable internet connection so the new data can synchronise.
Managing your company or organisation's structure
The division management page gives you the ability to add and edit divisions, subsidiaries or sub-companies within your organisation, allowing for more granular team and member management.
How to add a new division
Open Divisions under the Admin section, then select the Create New icon to add a new division. From there, give the division a name, select it's role, and confirm which division or organisation will be its parent. The new division will inherit the settings and options from its parent, including training programmes and course bundles.
You can also set the division's time zone and select what languages its users will have access to.
Once done, select Create Division.
How to add a edit or delete a division
Go to Admin > Division > select the division you want to edit. From here you can edit the divisions name, role, timezone, languages and parent. You can also view which courses are available to the division from the Experiences tab, and edit these courses from Bundles.
To delete the division, select Archive from the Details tab
Archiving a division is permanent and will affect any users and devices registered under that division. Please be sure to move any existing entries before archiving a division.
Finding training insights and data
One of the most valuable aspects of VR safety training is the ability to collect a user's training session data and then analyse that data to draw conclusions, giving us a much more in-depth insight into their learning. From the Training Insights page, you are able to review the results of your users when they complete a course.
How to access training insights
You can access these sessions by clicking on the Training Insights tab on the left navigation bar. This will bring up a list of all the training sessions completed by users in your organisation.
By default, session will be sorted by most recent sessions first, however you can use the search bar to search for a particular member, or use the filter icon to filter by date range or experience. You can also choose to see members of the organisation's divisions, in-progress training or incomplete sessions.
From here, you can click on a session to view its results.
These session results will give you an in-depth look at how the user performed during the course, as well as how they benchmarked against others in your organisation and globally.
How to find trainees who require training (expired or untrained)
To see who needs training, head to the trainees page and use the training status filters.
The Trainees Page
The trainees page displays all of your division's trainees, along with their training status.
Filter and Sort by Status
In order to find out who has expired training, you can open the filters draw and select the expired status.
If you click the STATUS header, you can sort your trainees by training level, clicking a second time will invert the order.
How to access the Next World Platform Portal
To access the Portal, point your browser to http://nwxr.app, then using the login screen, enter your username and password. These details will have been provided by Next World or your organisation's administrator.
Create An Account
If your organisation is new to Next World, you'll need to contact us to create an account. More information is available here. If you're part of an existing organisation, you should contact your manager or administrator in order to gain access. If you believe you have an account but don't know what the password is, you can try resetting your password.
Forgotten Password
If you've forgotten your password, you can use the password reset link. More information is available here.
How to view information from other divisions and subsidiaries
Larger companies are often split into divisions. The Portal has features to allow you to switch between them, or view information from them all at once.
Changing divisions
You can change divisions by selecting your division from the top-right corner of the dashboard.
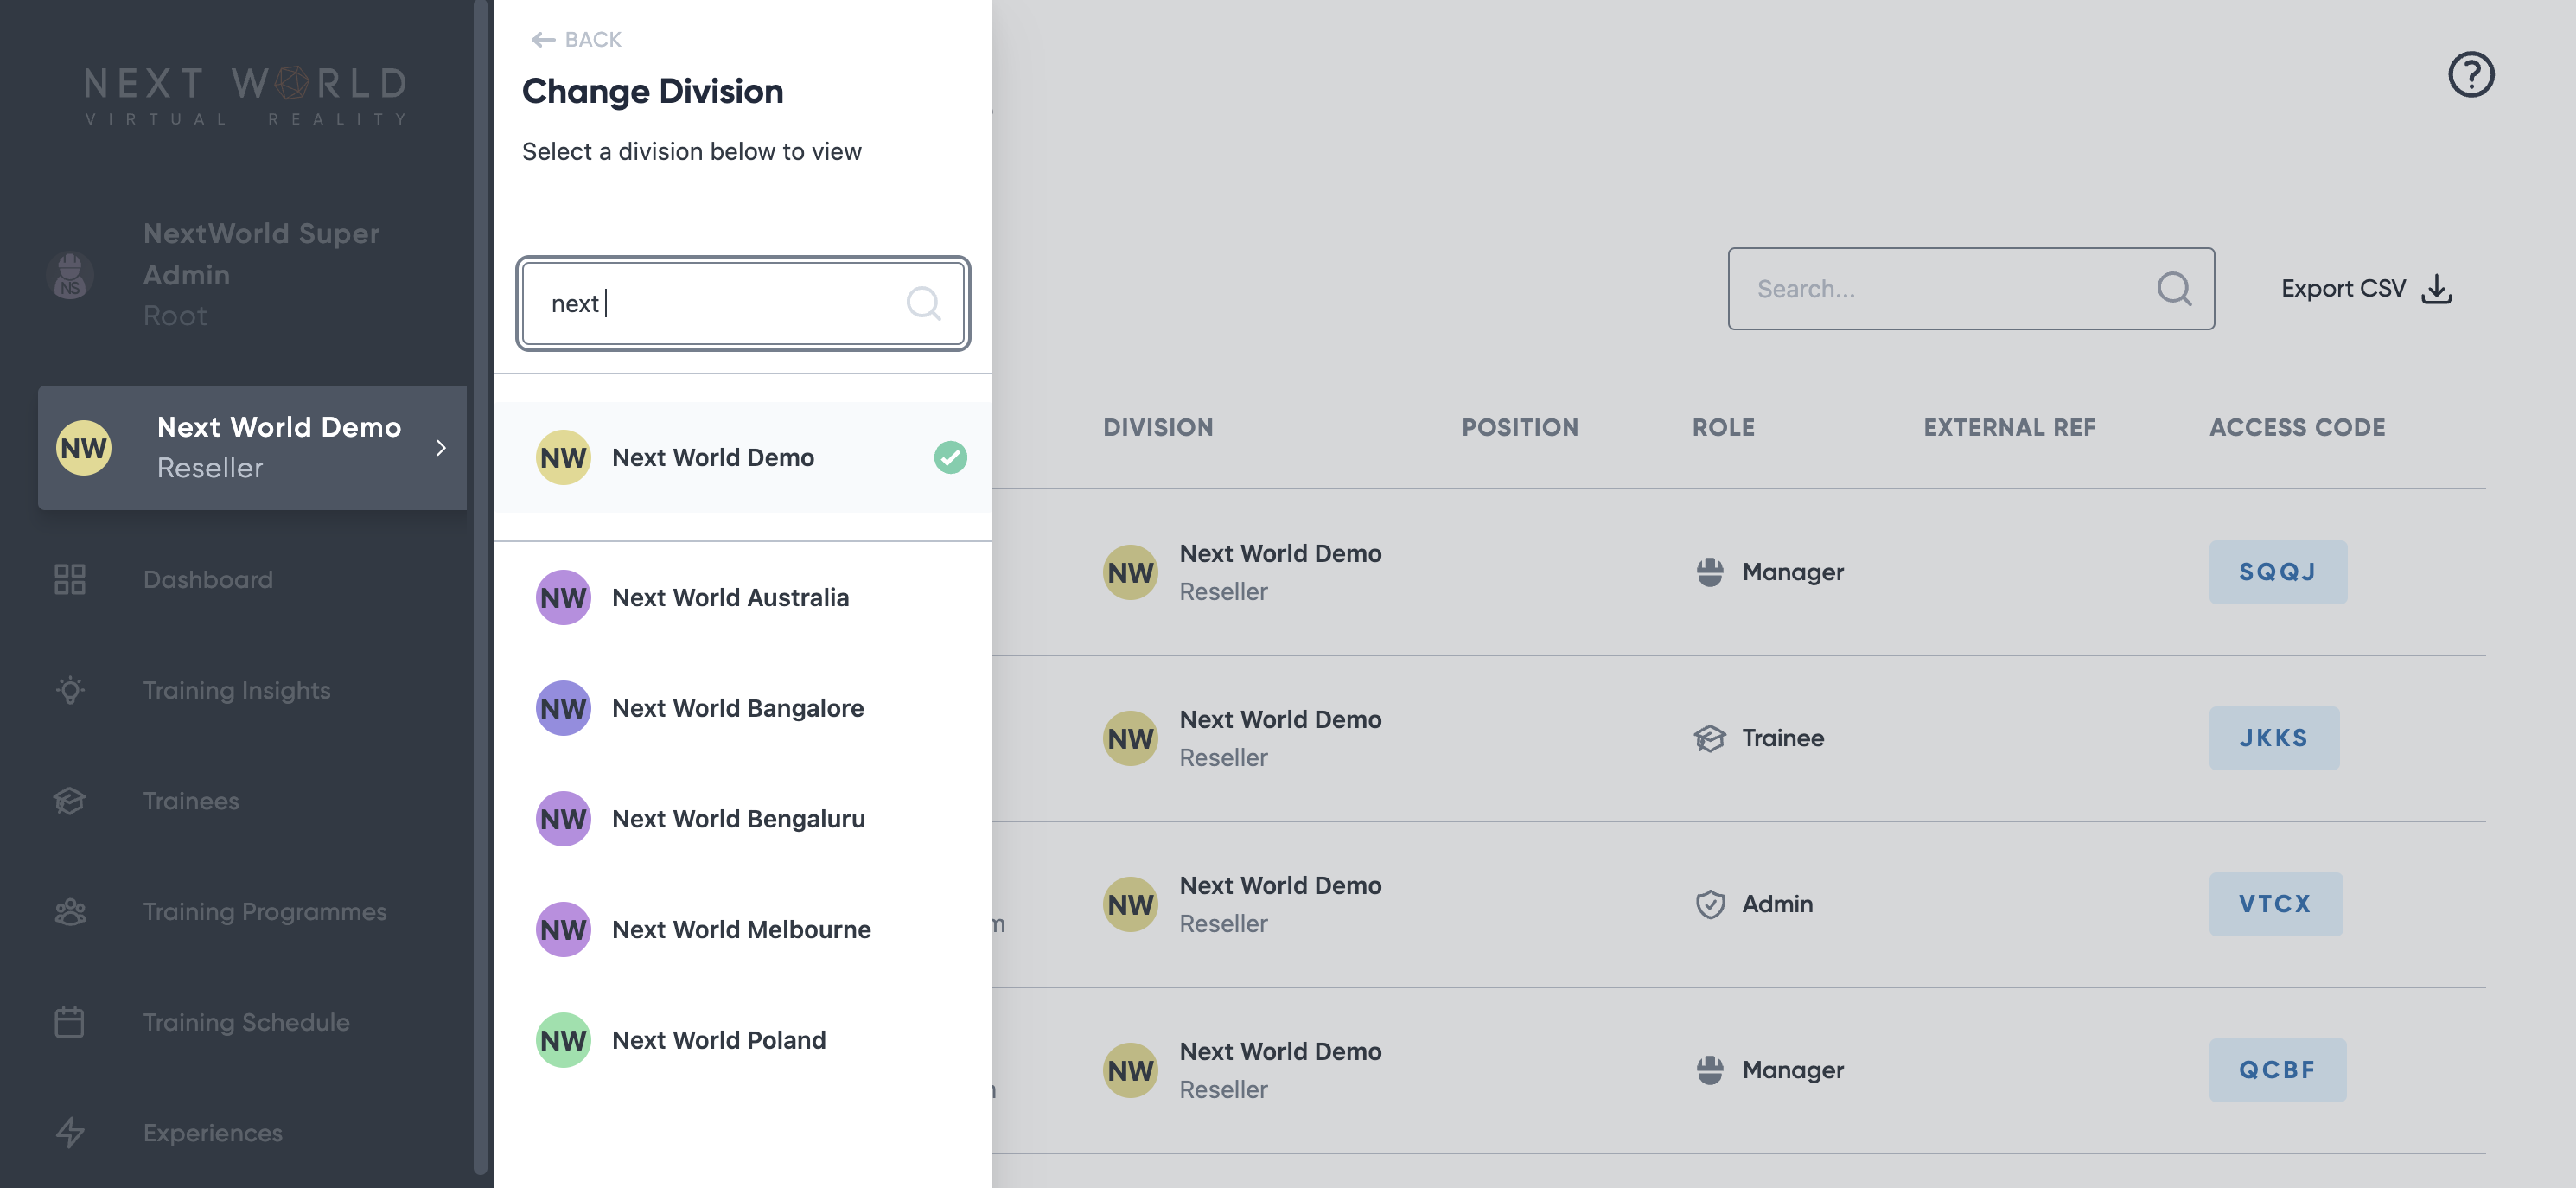 From there, you'll be given a list of divisions to change to. Find the division you want to assume the point-of-view of and select it.
When you're done, simply follow the procedure again, but this time click the parent division (your organisation). Alternatively, you can log out and log back in to go back to your organisation.
Viewing information from multiple divisions
Throughout the Portal, many pages allow you to view information from subdivisions and subsidiaries. This can be useful if you'd like to see all information from your company in one place.
-
- Change divisions to the top level company
- Select the Include Subdivisions filter from the filters menu.
Using filters in the Platform Portal to control tables
Filters are useful when looking for particular subsets of information through the Portal.
Applying Filters
Most pages, including Training Insights, Trainees, Schedule and the Admin pages, allow for filtering of data.
In order to access filters, click the ![]() icon at the the top-left of any table. It should display next to any filters that are active.
icon at the the top-left of any table. It should display next to any filters that are active.
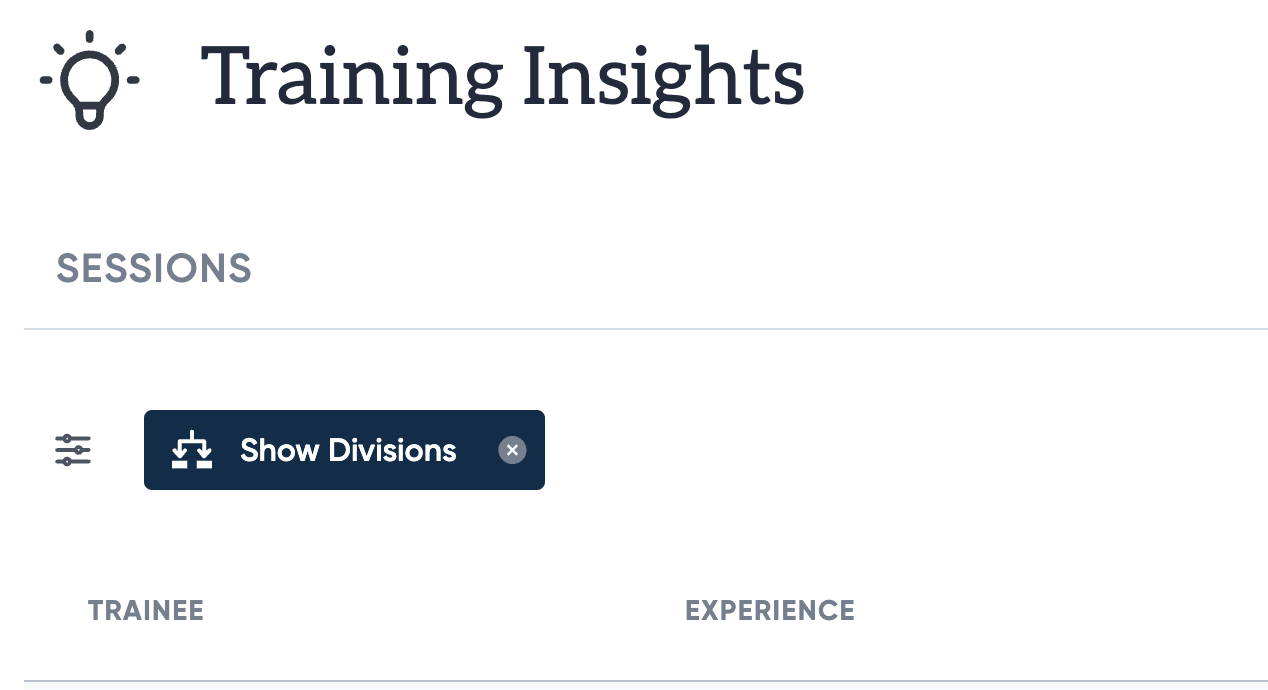
In the picture above, the Show Divisions filter is active, indicating that the table below is showing data from all subdivisions within the organisation.
Training States: How to tell what stage an employee's training is at
After assigning trainees to one or more Training Programmes, their overall training status will now be displayed as an icon on their avatar. There are many states, each denoting a stage on a trainees journey from being added to the platform, to achieving their completion certificate.
Individual training states for each course assigned to a trainee through their Training Programme, are also available for viewing on the trainee's profile page.

See below for a detailed breakdown of each training status and what they mean:
Ungrouped

This is the first stage status for a new trainee.
The ungrouped status displays when a trainee is not currently a member of any Training Cohorts. In order to schedule training for a trainee, or view their current training state for a course, they must be added to a Training Cohort.
Untrained

The Untrained status displays when any course this trainee has been assigned to has not yet been attempted by the trainee, or has not yet been scheduled for the trainee.
Scheduled

The Scheduled status displays when a trainee has been scheduled for a session of a particular course within their Training Cohort.
Overdue

The Overdue status displays when a trainee has been scheduled for a session, but has not completed a session within a reasonable timeframe of their scheduled time and date.
Expiring

The Expiring status displays when a trainee has previously successfully completed a course, but their completion date is nearing the expiry date set by the corresponding Training Cohorts' Training Frequency. See the Expired status below for an overview on how Training Frequency affects a trainees' Training Statuses.
Expired

The Expired status displays when a trainee has previously successfully completed a course, but their completion date falls outside the allocated Training Frequency period specified in their Training Cohort.
For example, if a trainee has access to the Fire Hazards course through a Training Cohort they are a member of, and that Training Cohort has a Training Frequency set to 6 months - If this trainee successfully completes a Fire Hazards session on January 1st, but does not complete another session before July 1st, their training state will be set to Expired and their "training priority" will be considered very high.
Note: If a trainee is a member of multiple Training Cohorts that each have the same courses, but have different Training Frequencies, the shortest Training Frequency will be used to calculate the trainees Training State.
Unsuccessful

The unsuccessful status displays when a trainee has attempted a scheduled session, but has been unsuccessful in completing the course with a passing score.
Certified

The Certified status displays when a trainee has successfully completed a course, and is still within the specified Training Frequency set by the assigning Training Cohort.